
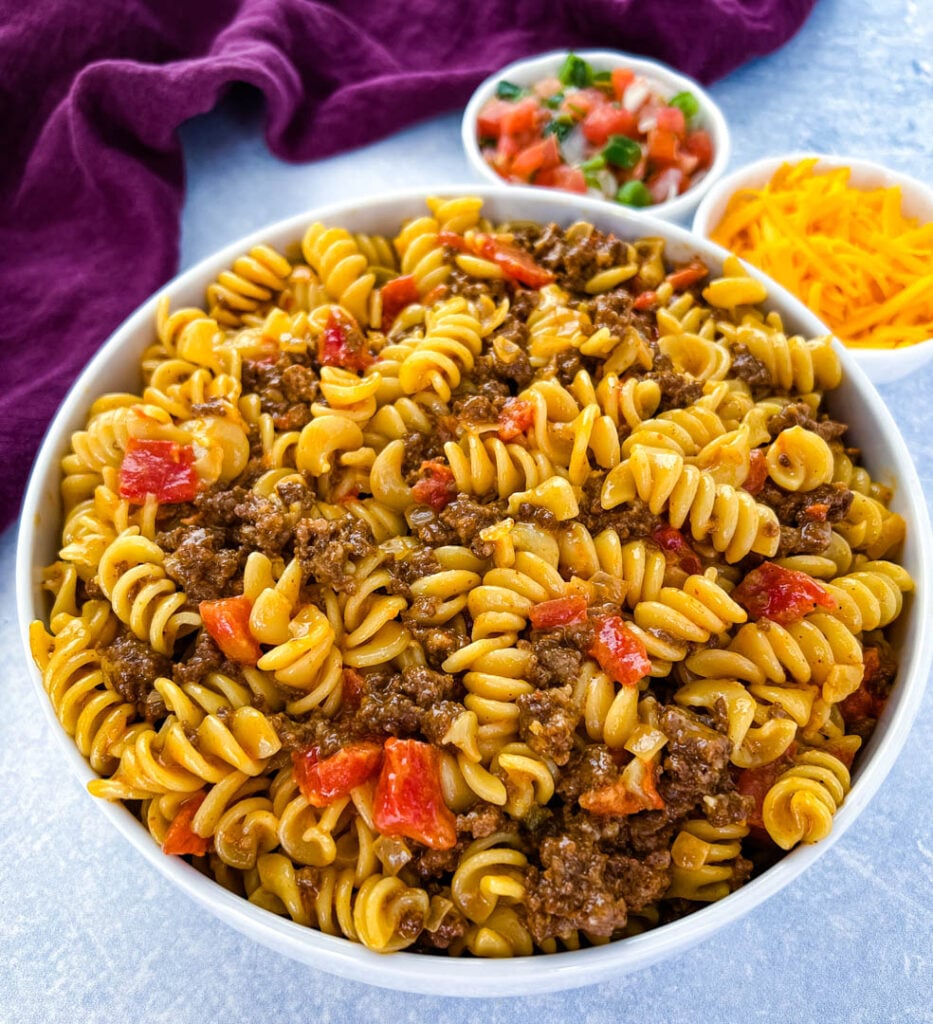
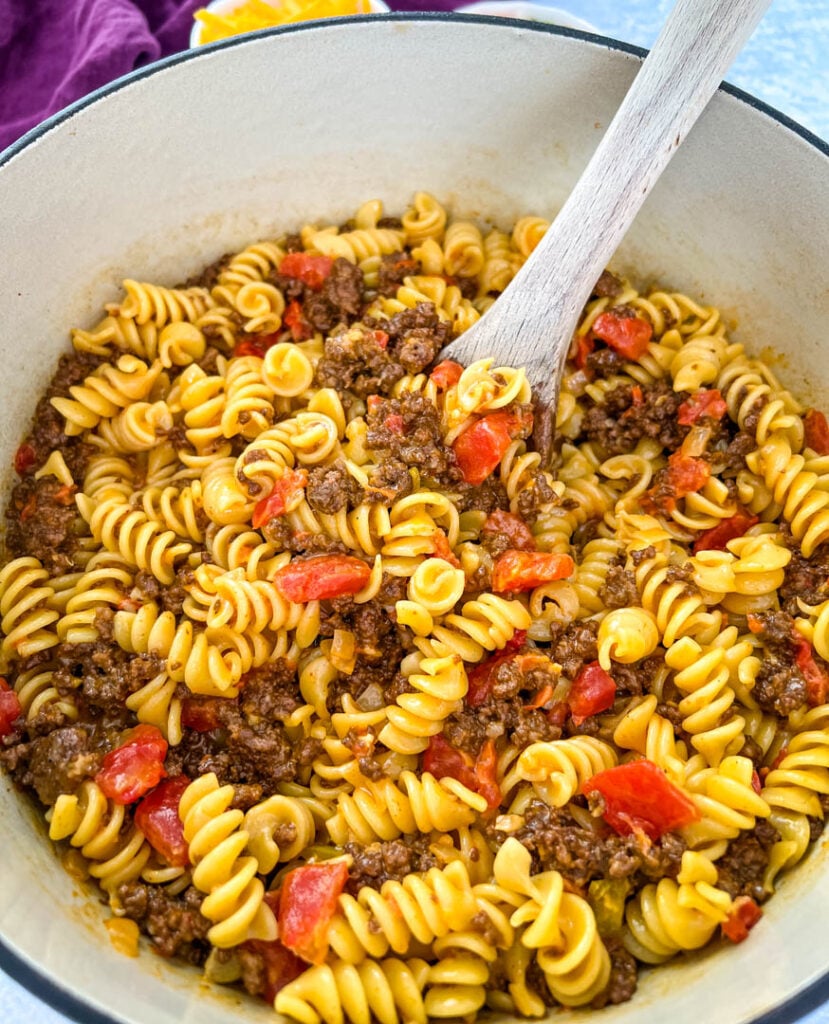
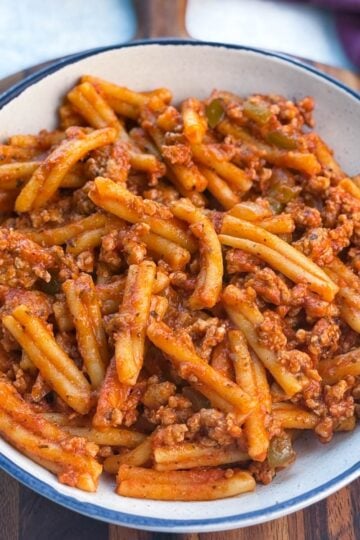
This Cheesy Taco Pasta is a one-pot meal and similar to the beef Hamburger Helper from our past. This is a quick, 30-minute meal perfect for weeknight dinners.
This post contains affiliate links. Please read my full disclosure here.
I grew up eating plenty of Hamburger Helper. There were so many flavors I liked. Boxed Hamburger Helper is high in sodium, like most pre-packaged seasoning mixes. With this recipe you will make your own spice blend for the taco meat using my Homemade Taco Seasoning filled with ingredients from your pantry. Grab your favorite protein, cheese, and pasta....and you have a delicious weeknight meal.
What Type of Pasta to Use
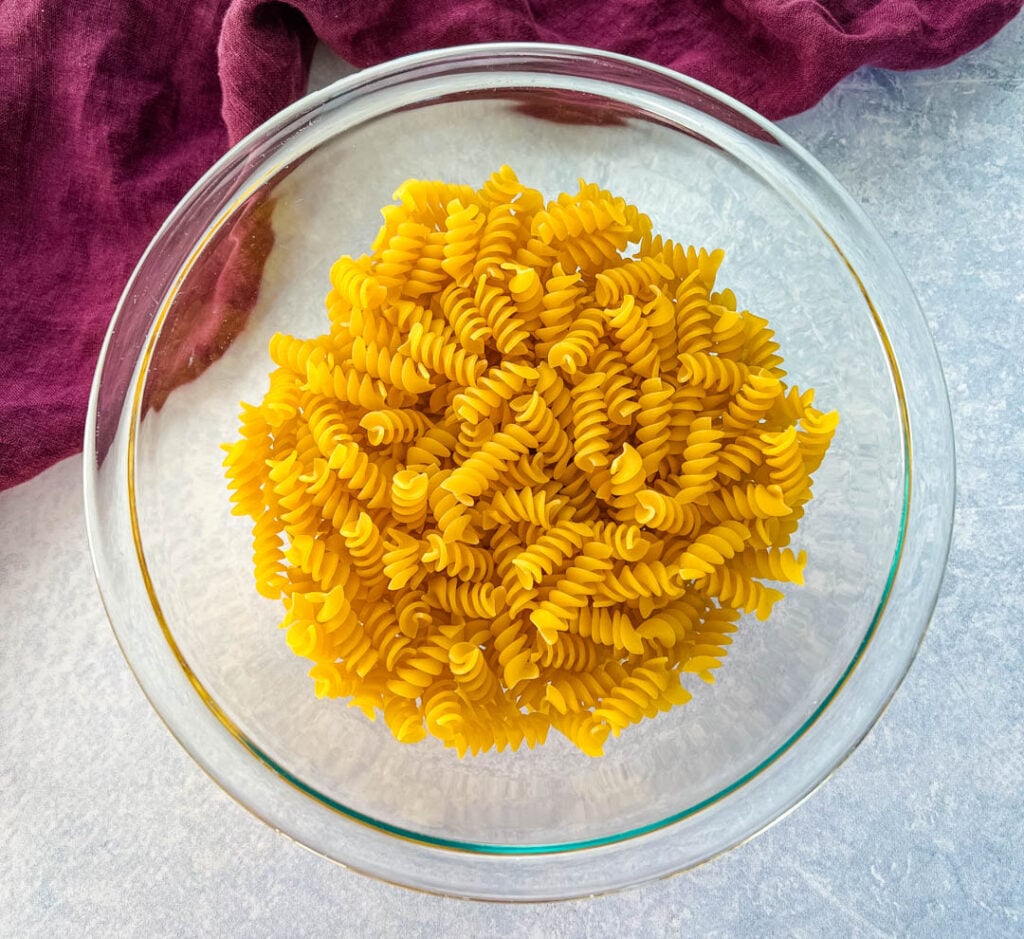
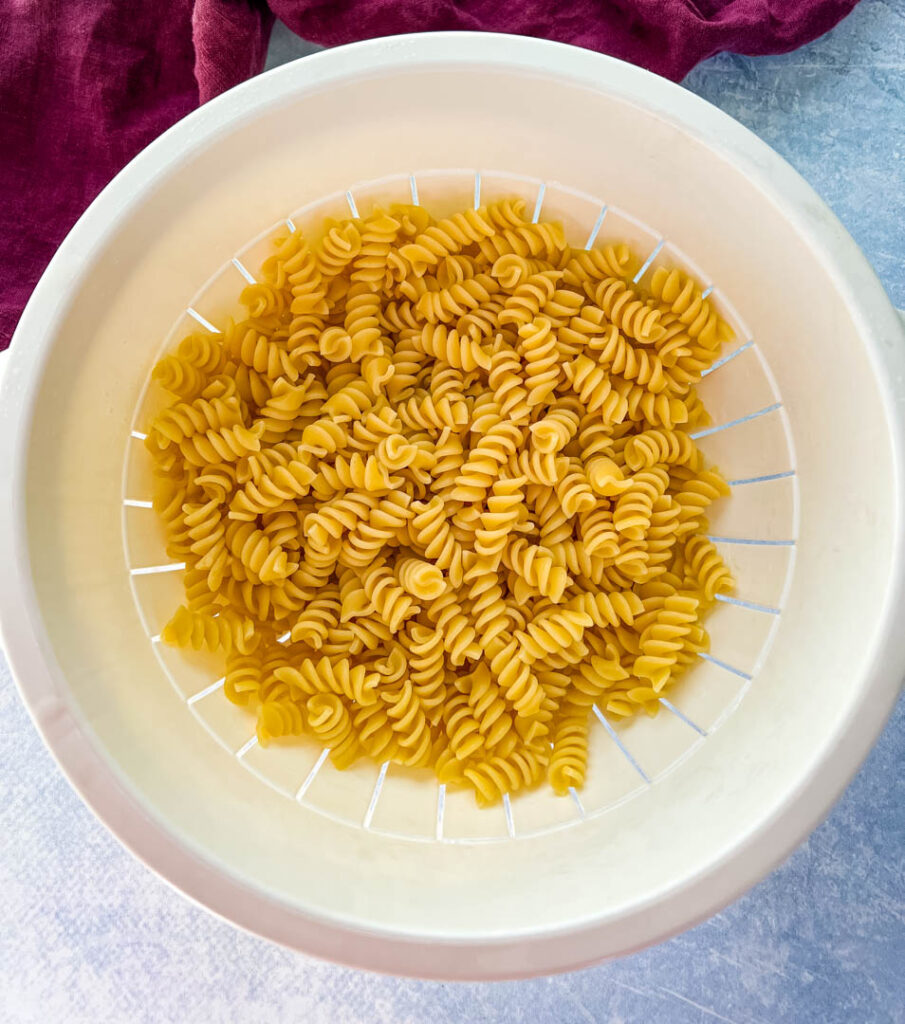
I like to use rotini in this dish. Rotini is short, corkscrew-like shaped pasta. This shape is also really popular with children. I use rotini when I'm making a dish that will suck up the sauce of the pasta, meaning the pasta and meat will carry most of the flavor of the dish.
Rotini is recommended to be paired with most sauces, like tomato sauces, oil-based sauces, or cream sauces. It also works well in pasta salads. It holds meat and cheese really well and can be used in baked pasta dishes.
However, feel free to use whatever you like! Thin pasta like linguine or spaghetti is better if you want to keep the sauce on your plate, and swirl the sauce and pasta together. If you use rotini, the sauce will adhere to the pasta.
Other types you can use are penne, shells, macaroni, and farfalle.
Add Salt to the Water When Cooking the Pasta
You should always salt your water when cooking pasta. The salt won’t sink into the flavor of the pasta because it doesn’t absorb most of it. The salt will keep the pasta from being sticky and slimy. I usually add a teaspoon.
What Type of Cheese to Use
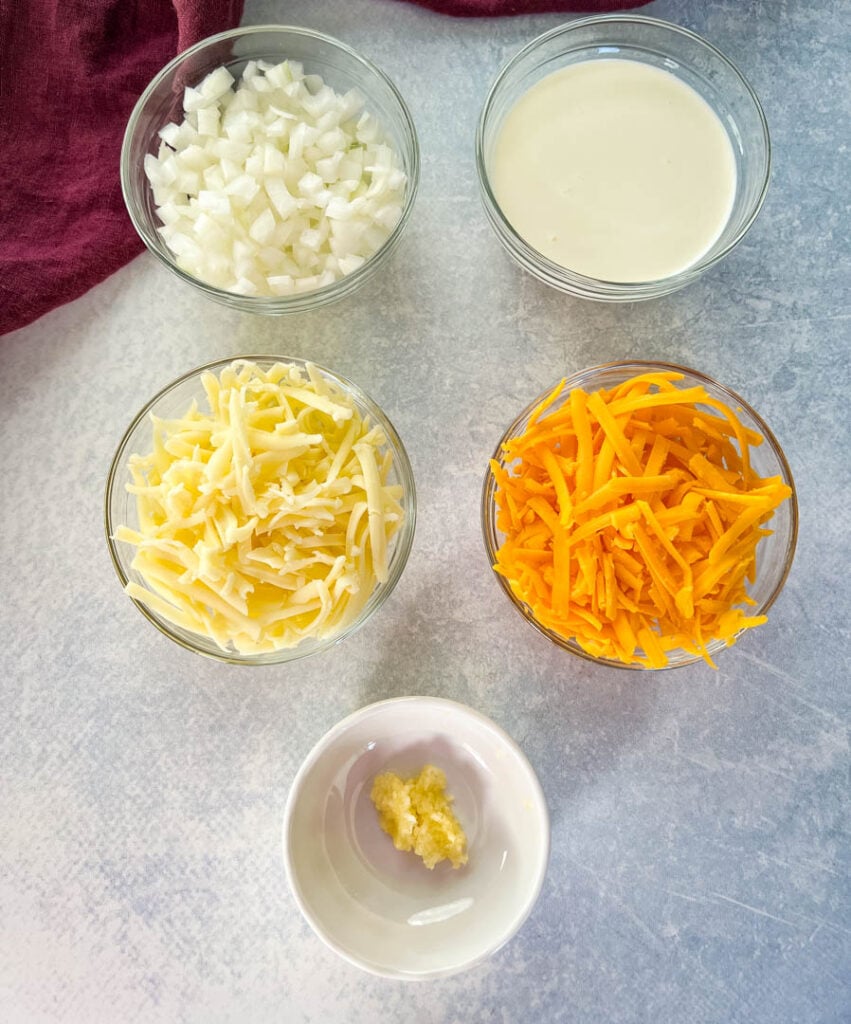
I use a combination of sharp cheddar and Monterey jack cheese. If you are into spicy, try substituting Monterey jack for pepper jack cheese. It's the same type of cheese, but with added peppers.
Feel free to use whatever type of cheese you like.
How to Make Cheesy Taco Pasta
Detailed measurements and full instructions can be found in the recipe card at the bottom of this post.
- Cook the pasta in accordance with the instructions on the package.
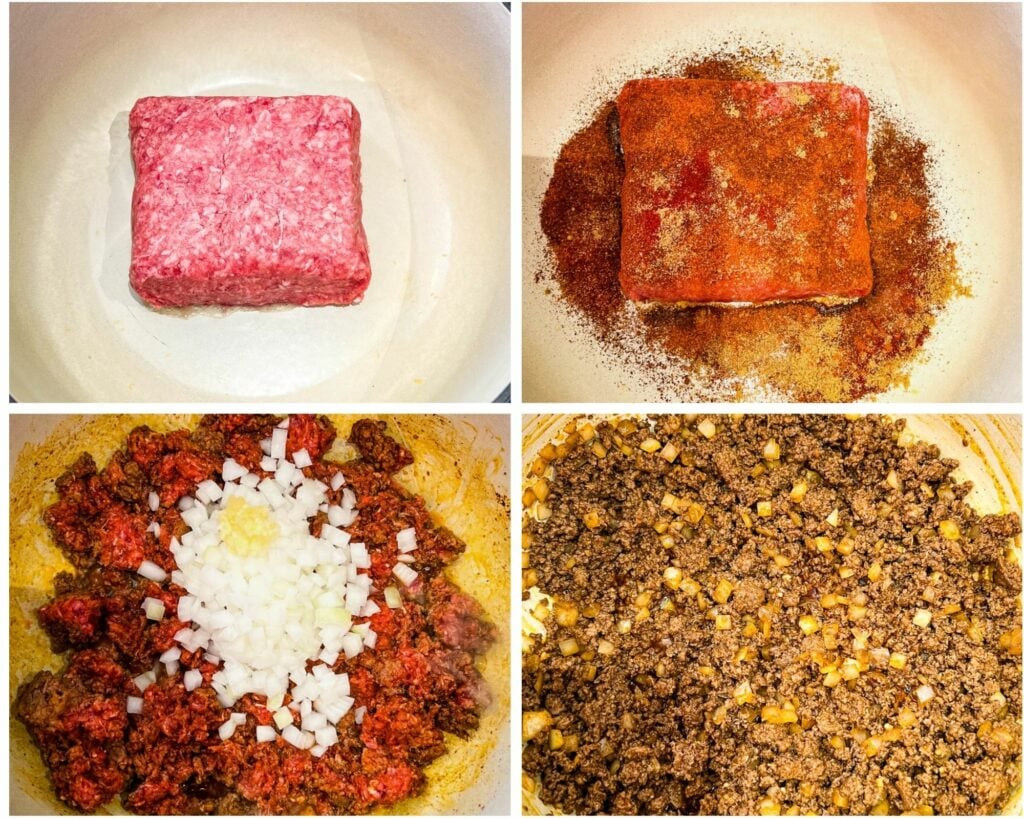
- Place a large pot on medium high heat and cook the beef.
- Add the onions and garlic. Cook until the ground beef is no longer pink.
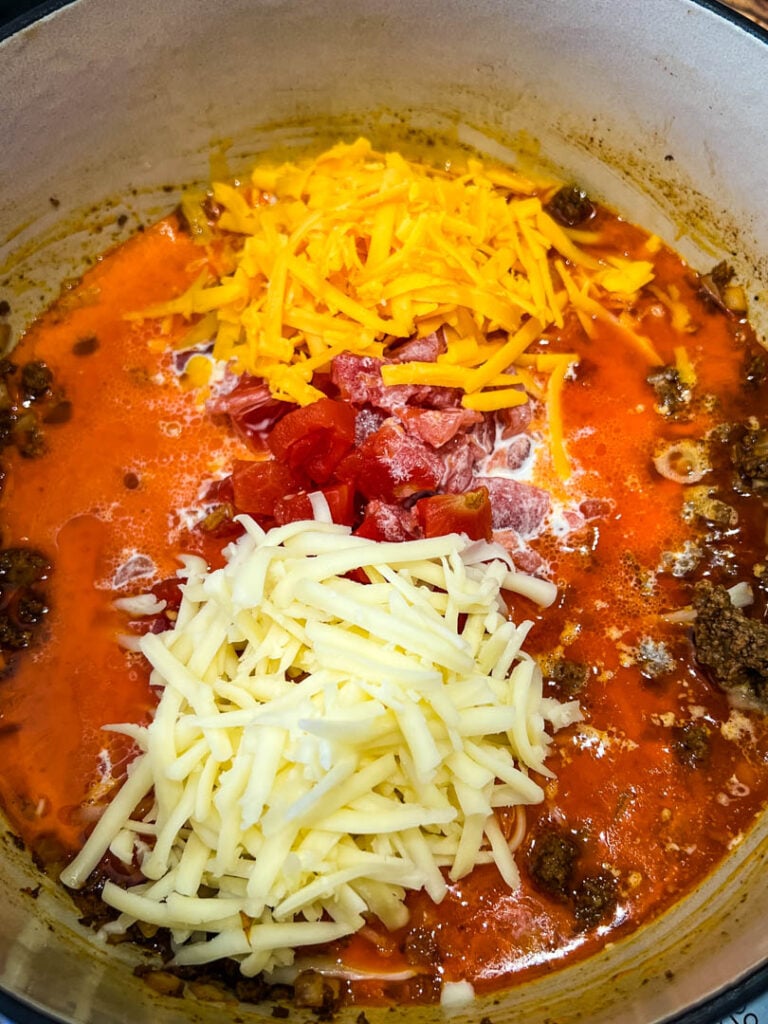
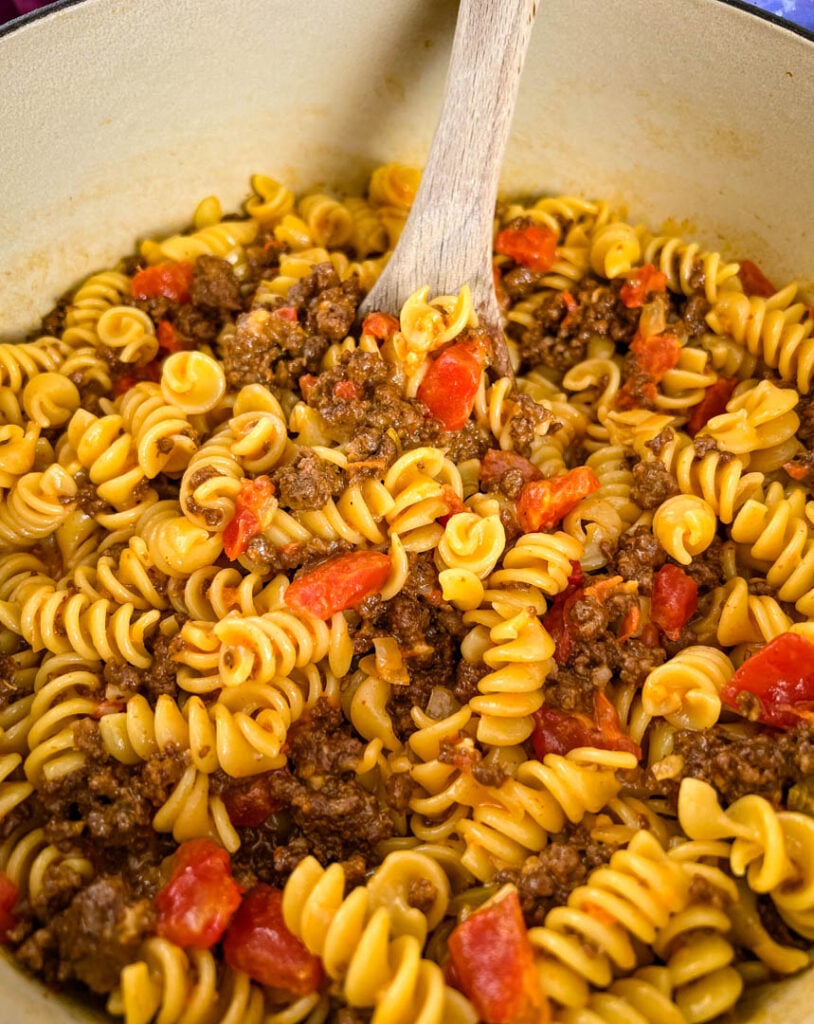
- Add in the diced tomatoes and chilies, broth, cream or milk, and shredded cheese.
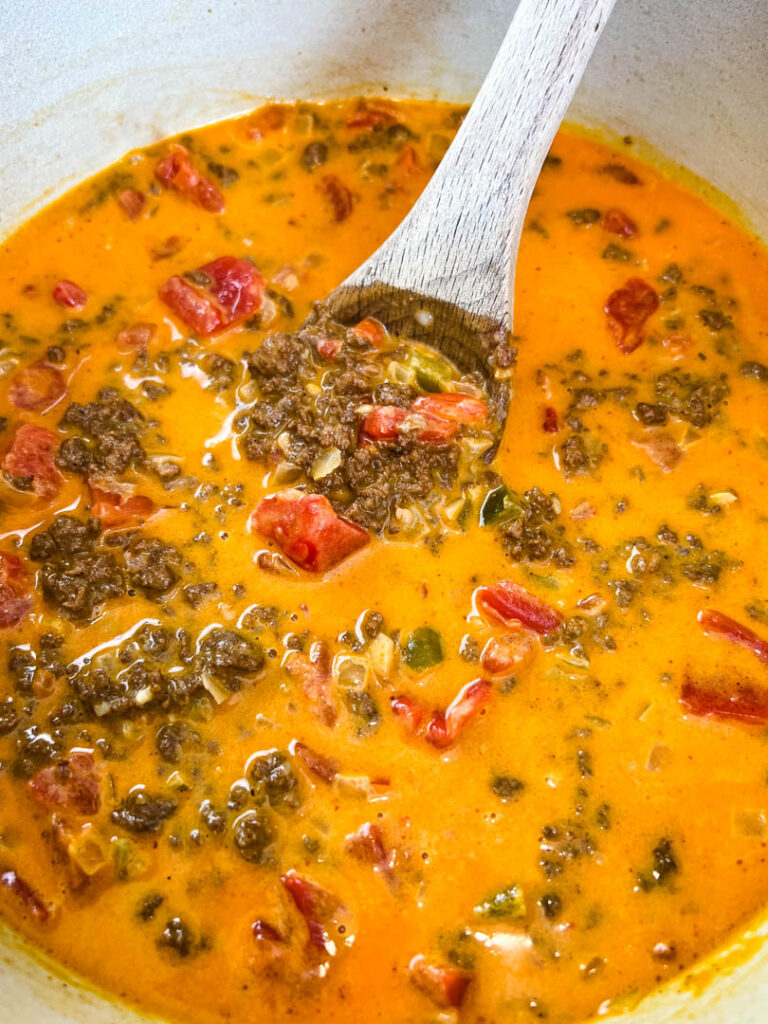
- Allow the sauce to thicken.
- Add the cooked pasta to the pot.
Want to save this recipe for later?
How to Thicken the Sauce
Create a slurry and combine 1 tablespoon of all-purpose flour along with 1 tablespoon of water in a small bowl to create a slurry. Add the slurry mixture to the cream sauce and stir until it thickens.
If your sauce is too thick, you can thin it out with additional broth.
What Type of Pot to Use
I’m a huge fan of making this a one-pot recipe. I go for this 7-quart Dutch oven. It’s large enough to cook the pasta in and it can withhold higher heat for sauteeing the vegetables and chicken. If you want to make this using one pot, grab one that’s large enough and retains heat well.
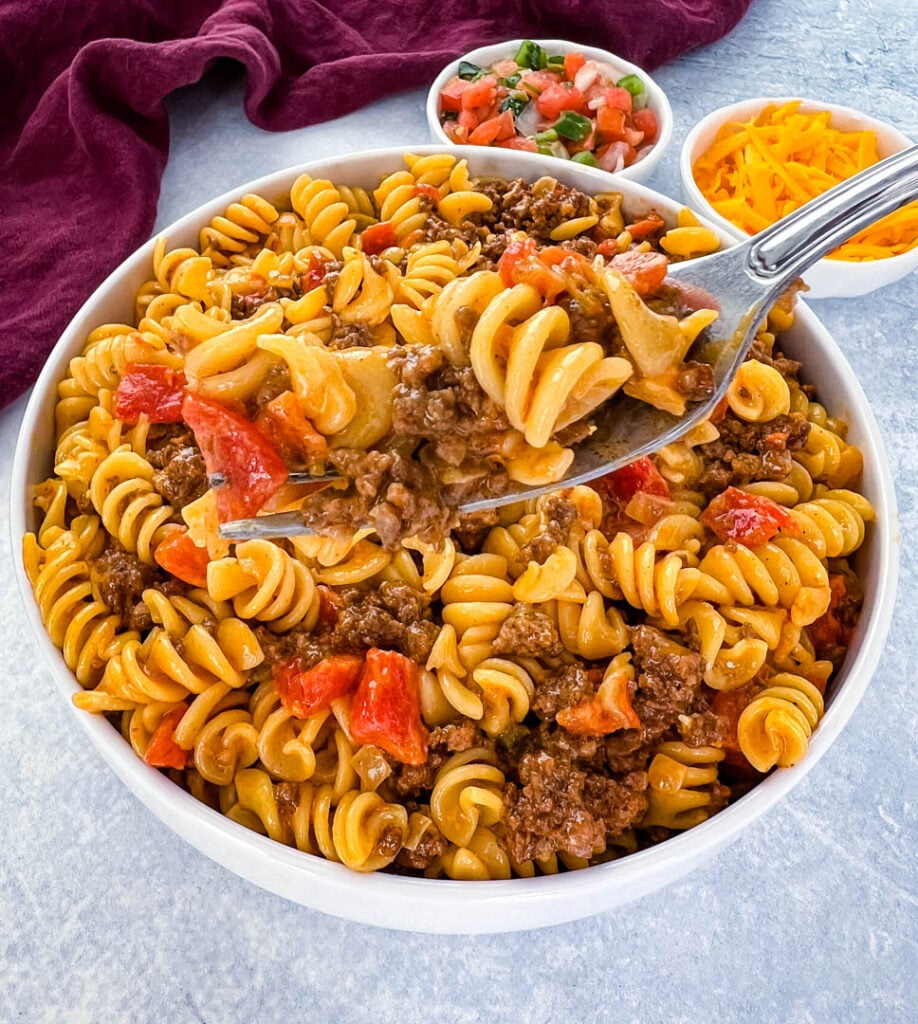
Additional Toppings and Substitution Ideas
- Crumbled Bacon
- Mushrooms
- Crushed Tortilla Chips (Air Fryer Tortilla Chips)
- Pico De Gallo
- Guacamole
- Black Beans (Add this when you add the diced tomatoes and chilies)
- Sour Cream or Plain Greek Yogurt
- Cilantro
- Roasted Broccoli (Air Fryer Broccoli)
- Fresh Spinach
- Crunchy Lettuce
How to Store Leftovers/How Long it Will Last in the Fridge
Store leftovers tightly sealed and covered for 3-4 days.
Freezer Tips
You can freeze this tightly sealed for up to 3 months. Defrost in the fridge overnight. When you reheat there will likely be some separation due to the dairy and cheese. I file this under, not the best recipe to freeze, but you certainly can.
What to Pair with the Pasta
Air Fryer Brussels Sprouts
Air Fryer Green Beans
Air Fryer Vegetables
Broccoli Salad
Air Fryer Roasted Garlic
More Taco Recipes
Taco Bell Creamy Jalapeno Sauce
Pork Belly Tacos
Smoked Salsa Recipe
Taco Bell Breakfast Crunchwrap
Instant Pot Chicken Tacos
Blackened Fish Tacos
Leftover Taco Meat Bowls
Air Fryer Taco Egg Rolls
Southwest Salad Recipe
Steak Stir Fry
Roasted Creamy Poblano Soup
Slow Cooker Crockpot Chicken Taco Soup
More Pasta Recipes
Cajun Shrimp Pasta
Seafood Stuffed Shells
Southern Chicken Spaghetti
Creamy Lemon Chicken Pasta
Air Fryer Ravioli
Spaghetti with Sausage
Creamy Seafood Mac and Cheese
Ground Beef Pasta with Alfredo

Cheesy Taco Pasta
Want to save this recipe for later?
Equipment
Ingredients
- 10 oz rotini pasta
- ½ cup chopped onions
- 3 garlic cloves Minced.
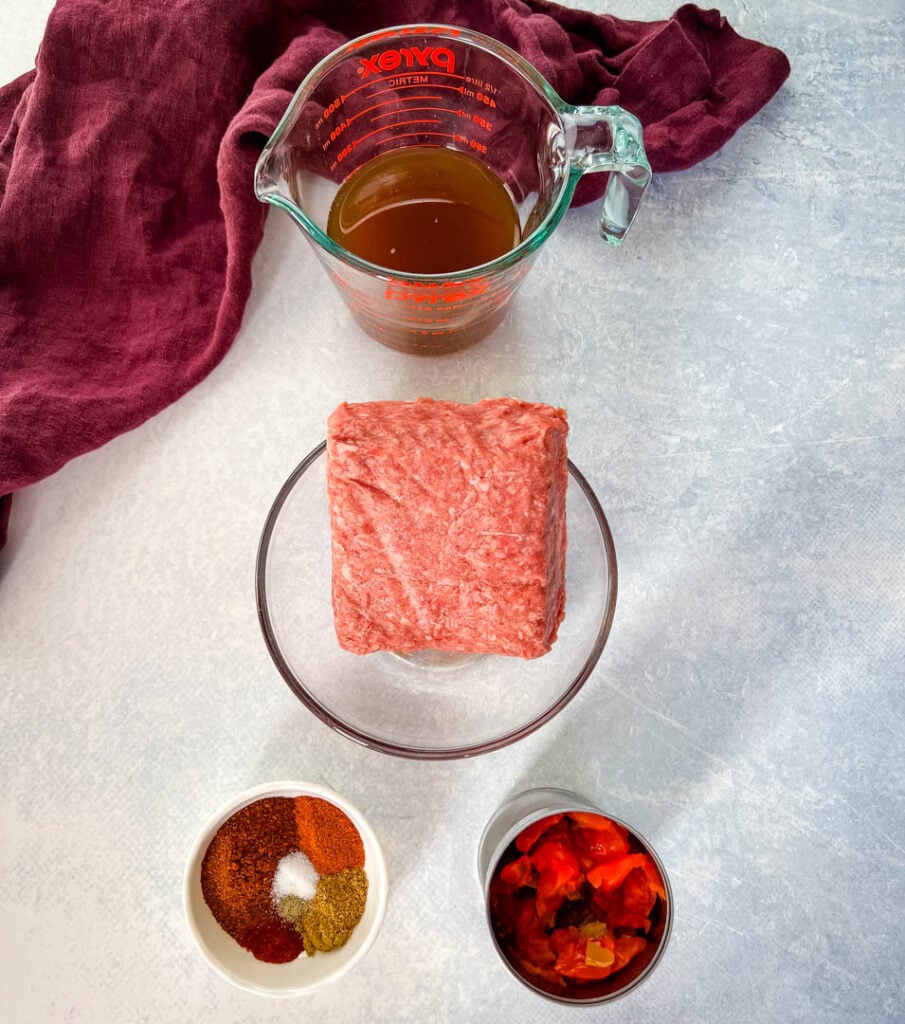
- 1 pound ground beef or turkey
- 15.5 oz diced tomatoes and chilies
- 1 cup beef broth Any broth will work.
- 1 cup milk or heavy cream Either will work fine. Any milk type you prefer. Heavy cream is thicker.
- 1 cup shredded cheddar cheese
- 1 cup shredded Monterrey Jack cheese
- 1 tablespoon all-purpose flour You can also use cornstarch.
- 1 tablespoon water
Homemade Taco Seasoning (You can use packaged store bought if you wish)
- 1 tablespoon chili powder
- 1 teaspoon cumin
- ½ teaspoon smoked paprika
- salt and pepper to taste
- 1 teaspoon cayenne pepper Optional for spicy.
Instructions
- Cook the pasta in accordance with the instructions on the package.
- Place a large pot or Dutch oven on medium-high heat and add the ground beef or turkey. Sprinkle the taco seasoning throughout.
- Break down the ground beef, I use this meat chopper. Add the onions and garlic. Cook for 4-5 minutes or until the ground beef is no longer pink. Drain any excess fat from the pot if necessary.
- Add in the diced tomatoes and chilies, broth, cream or milk, and shredded cheese. Stir to combine. Reduce the heat on the stove to medium.
- Combine the flour and water in a small bowl. Stir until the mixture thickens. Pour the mixture into the pot. Stir until combined.
- Allow the sauce to thicken. It may take up to 10 minutes. Stir the pot every couple of minutes while the sauce thickens.
- Add the cooked pasta to the pot. Reduce the heat on the stove to Low. Place a lid on the pot and simmer for 10-15 minutes or until the pasta and sauce is well incorporated.
Video
Notes
- You can also buy a pre-packaged taco seasoning pack if you don’t want to make your own. Use your judgment for how much to use.
- Feel free to use whatever pasta you like! Thin pasta like linguine or spaghetti is better if you want to keep the sauce on your plate, and swirl the sauce and pasta together. If you use rotini, the sauce will adhere to the pasta.
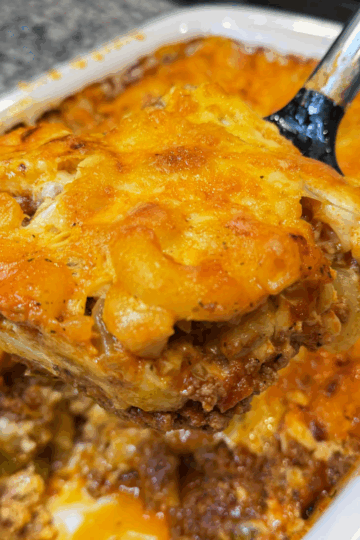
- If you want a super cheesy dish (similar to my Mac and Cheese recipes), you will need a lot more cheese. I typically use 4-6 cups of cheese in those recipes.
- If you are into spicy, try substituting Monterey jack for pepper jack cheese. It’s the same type of cheese, but with added peppers.
- You can use any type of broth you wish.
- You can substitute any vegetables you wish.
- For me, this recipe works better with a flour thickener than cornstarch. If your sauce isn't thick enough you can add an additional tablespoon of flour and water.
- If your sauce is too thick, you can thin it out with additional broth.
- You can substitute pasta for zucchini noodles or any low carb pasta you prefer. You can thicken the pasta sauce using 1 teaspoon of xanthan gum. Combine a tablespoon of the cooked sauce with the xanthan gum and add it back to the pot.
- Macros assume ground beef and 2% milk used in the recipe. Feel free to use the macro calculator of your choice when making the recipe with the ingredients you use.
- One of our readers has made this recipe using an Instant Pot. She provided her instructions in the very first comment on this recipe below in the Comment Section.
Nutrition
Nutrition Data
Macros are provided as a courtesy and should not be construed as a guarantee. This information is calculated using MyFitnessPal.com. To obtain the most accurate nutritional information in a given recipe, you should calculate the nutritional information with the actual ingredients used in your recipe, using your preferred nutrition calculator. You are solely responsible for ensuring that any nutritional information provided is accurate, complete, and useful.

Erika says
Made this for dinner and it was really good! I did modify it for an instant pot (along with doubling the ingredients) by sauteing the meat and then adding the tomatoes and diced chilies. Pressure cooked for 8 minutes and then stirred in the cornstarch slurry, cheese, heavy cream and pasta. So delicious!
staysnatched says
Thank you so much for sharing!
Mary says
I made this for dinner and the grandkids were over the moon, they loved it. I will be rotating this into our bi-weekly meal plan.
I used colored Rotini and ground beef. I also doubled the recipe, teenagers have hearty appetites. I omitted the Chilies and added more Taco seasoning.
staysnatched says
I'm glad you enjoyed it!
Kara says
As soon as this popped up in my inbox, I immediately knew it was for dinner. It is soooo good!! I followed the suggestions to use pepper-jack cheese and cayenne pepper to make it spicier and it was perfect! Thank you so much!!
staysnatched says
I love that combo!
Alisha G says
I made this today since it’s cold and snowy where I am, needed something quick and easy. Very tasty! I substituted beef for ground Turkey and it still came out great!
staysnatched says
So easy to make substitutions!
Kerry says
Absolutely easy and delicious. I love pasta and there is nothing better than an easy flavorful pasta dish. I will try the heavy cream next time istead of milk. This one will stay in rotation.
staysnatched says
Glad to hear it will be in the rotation!
Janelle says
Saw this on Stay snatched IG and decided to make it while I wait for a winter storm. It was delicious!!! Will make again!!
staysnatched says
The perfect recipe to make again!
Towanda Wilson says
Another great recipe! I used whole wheat rotini and it was still amazing!
staysnatched says
Glad to hear whole wheat worked well!
Jalisa W says
I love a good pasta dish and I'm definitely adding this to my favorites. I used ground turkey and more cheese and it came out great!
staysnatched says
That sounds so good!
Shannon says
Just made this for the week. It is so quick and easy. I haven’t have hamburger helper in years, this really hit the spot!
staysnatched says
I'm glad it hit the spot!
Jennifer says
I made this tonight and loved it! So good and easy- I had everything on hand.
staysnatched says
I'm glad you had everything on hand!
Carnyel Curry says
I'm petitioning Brandi to add Staysauced to the Staysnatched logo cause this woman can make a sauce! That being said obviously another hit for our family! I did turkey and added the black bean option and ooh wee, yummm. Also I need to quit sleeping on Brandi's Butcher Box because beef in these streets is stupid hence the turkey option 🥴
staysnatched says
haha! I love to hear that. Thank you.
leeannguidry@hotmail.com says
This is going into the rotation. The picky 13 year old that does not like taco Tuesday usually had two plates and the baby liked it too. It's a winner. Served with black beans and corn.
staysnatched says
I love when I can satisfy the picky eaters!
Amanda G. says
Delicious as always, Brandi! I couldn’t wait to make this when my butcher box came since I was all out of ground meat! I used turkey, and added in red and green peppers for extra veggies. Awesome flavor!
staysnatched says
Yum! Sounds good. I’m glad you enjoyed it.
Tenedra says
I woke up this morning & really didn’t know what to cook for dinner & remembered seeing this! My husband & 3 year old loved it. So quick & easy. Definitely adding it to the rotation!
staysnatched says
A great one to add to the rotation!
Laura Montgomery says
We needed a comfort, easy meal and this fit the bill! Easy to make and all my family complimented it! My husband was just disappointed that there were no leftovers for his lunch tomorrow! Will definitely be making again.
staysnatched says
Glad to hear you will make it again.
Jenny K says
I made this tonight and it was so delicious and simple. The clean up was easy and I'll have some leftover for the week!
staysnatched says
I love enjoying leftovers!
Ashley says
Dinner was fantastic as usual! Quick and flavorful it doesn’t get better than that!
staysnatched says
I'm glad to hear it!
Lakia Talley says
Delicious! This was so easy to prepare and The entire family enjoyed it!
staysnatched says
I'm glad the family enjoyed it!
Brandi says
Delicious! Perfect fall meal. We used chickpea rotini, extra cheese and some chopped jalapeños. It was delicious and perfect for a cool fall evening! Amazing!
staysnatched says
Wonderful! I'm glad you enjoyed it.
Penny says
This. is. DANGEROUS! I scrolled through this post on IG, went to the recipe page, saw Ihad all the ingredients and showed my husband this is what we are having for dinner tonight. Oh my gosh this is perfect. Doesnt look quite like the picture (we may have over measured the cheese) but the flavor does not dissapoint!
staysnatched says
I'm glad you enjoyed it!
diane says
I haven't made this yet, but I will. What I can't understand is why do you put the meat, onions and seasoning in first and then drain the meat. Doesn't the seasoning drain with the grease? I also add my onion and seasoning after I brown the meat.
staysnatched says
No, and you only drain the meat if there’s excess.
Jessica says
Made this recipe today after a long weekend of packing. It was amazing and the ultimate comfort in a bowl. 10/10 recommend.
staysnatched says
I'm so glad you recommend it!
Kayla says
Made this for dinner this week - what a good choice. I doubled it so we could have it for a few nights. Keeps well in the fridge and my daughter, who is only a year and half, loves it! lately she's been throwing a lot of her food, so to have her finish her entire serving is great. Thank you!
staysnatched says
You're welcome! Glad you enjoyed it.
Bri says
I have made this recipe multiple times. It is delicious. Thank you!
staysnatched says
I'm glad you enjoy it!