
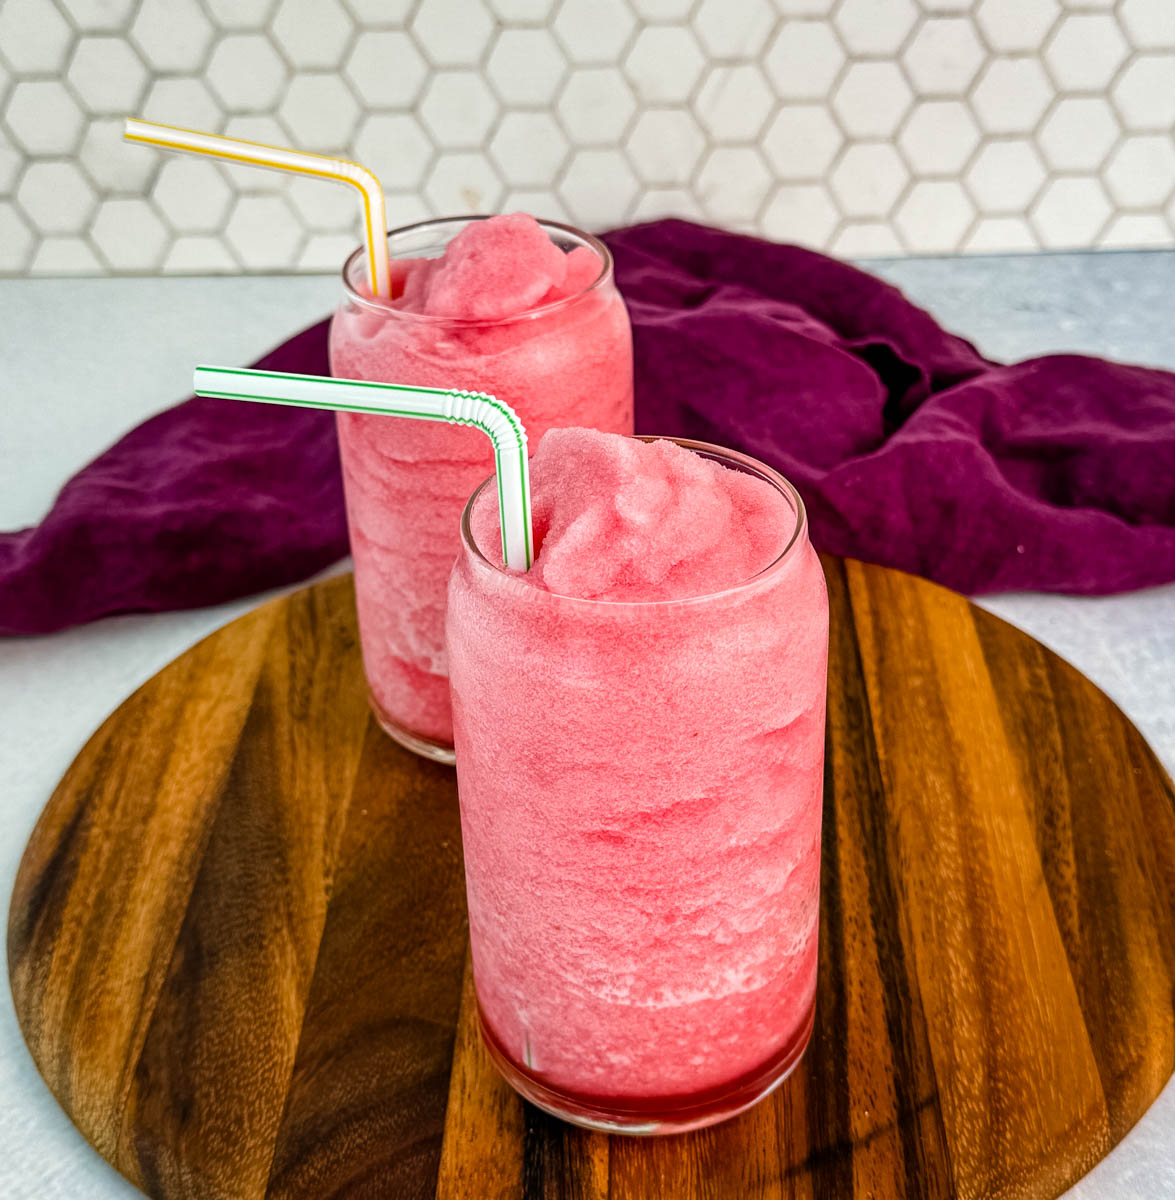
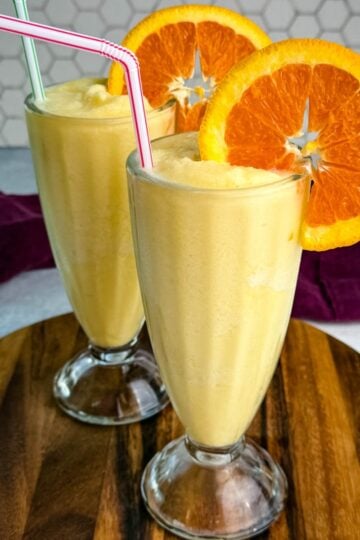
This Ninja Slushi is simple, super reliable, and comes out thick and icy every time. I’ve tested it with different juices, added frozen fruit, even spiked it, and it still turns out just right. You don’t need anything fancy here. This one’s perfect for cooling off or pulling out at a party, and you can trust that it works because I’ve made it more times than I can count.
Be sure to read my How-to Guide and Honest Review of the Ninja Slushi Machine here.
Fruit Punch Slush Ingredients
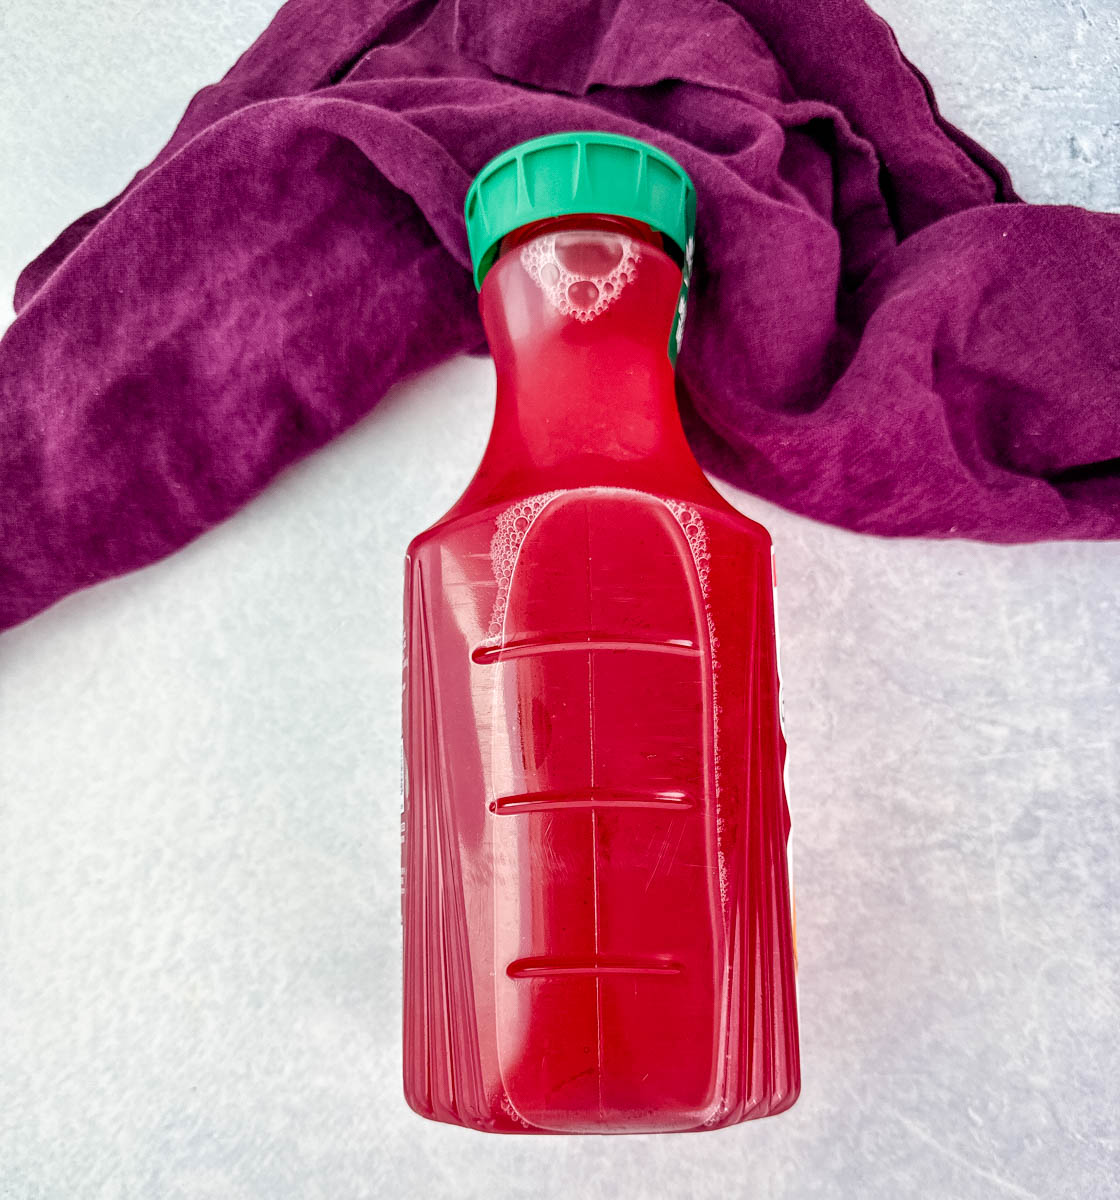
Grab your favorite fruit punch. If you want to play around with flavors, add any your favorite flavored syrups. The fruit punch alone is enough flavor for me.
How to Make Ninja Slushi Fruit Punch
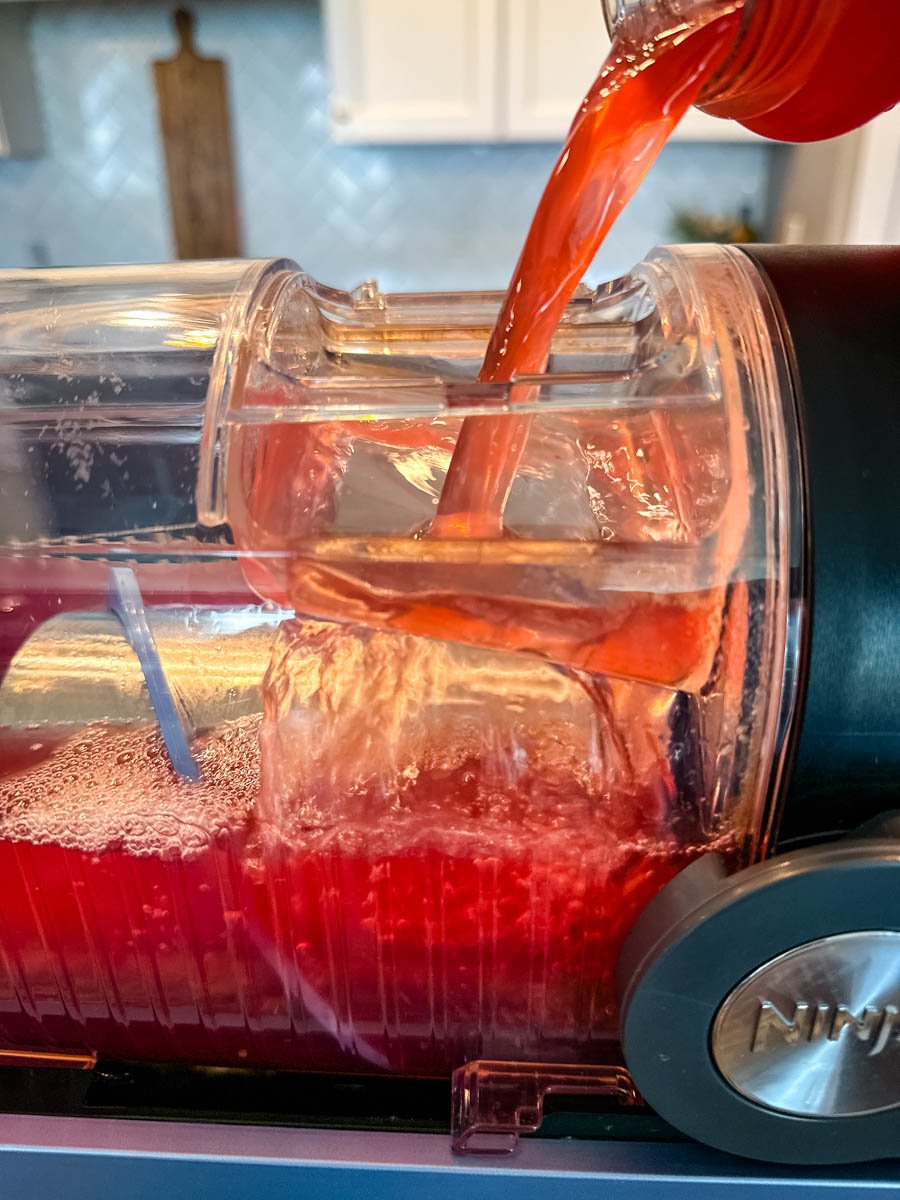
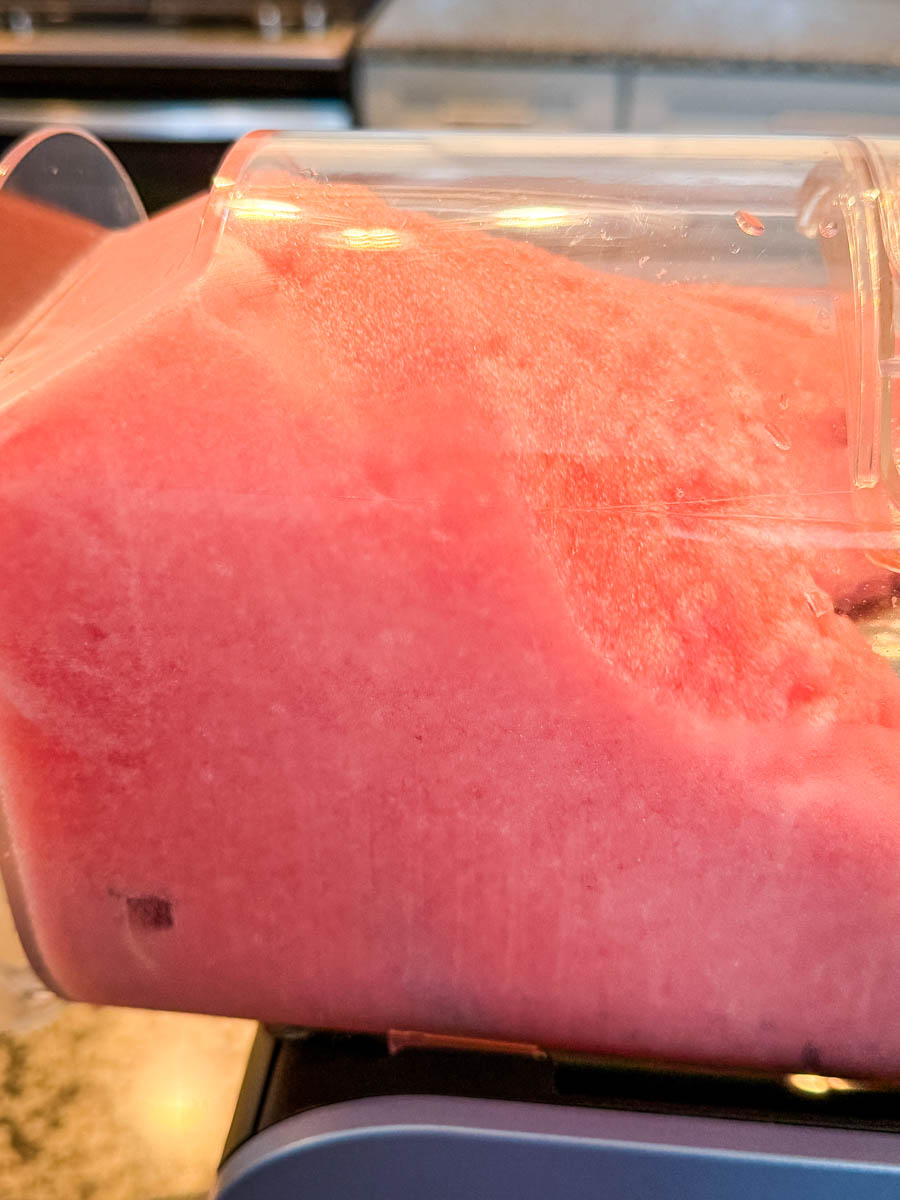
- Pour in your fruit punch. Grab your favorite fruit punch (I like Hawaiian Punch or a mix of juices) and pour it into the Ninja Slushi container. You can fill it up to the max fill line—no need to freeze it first.
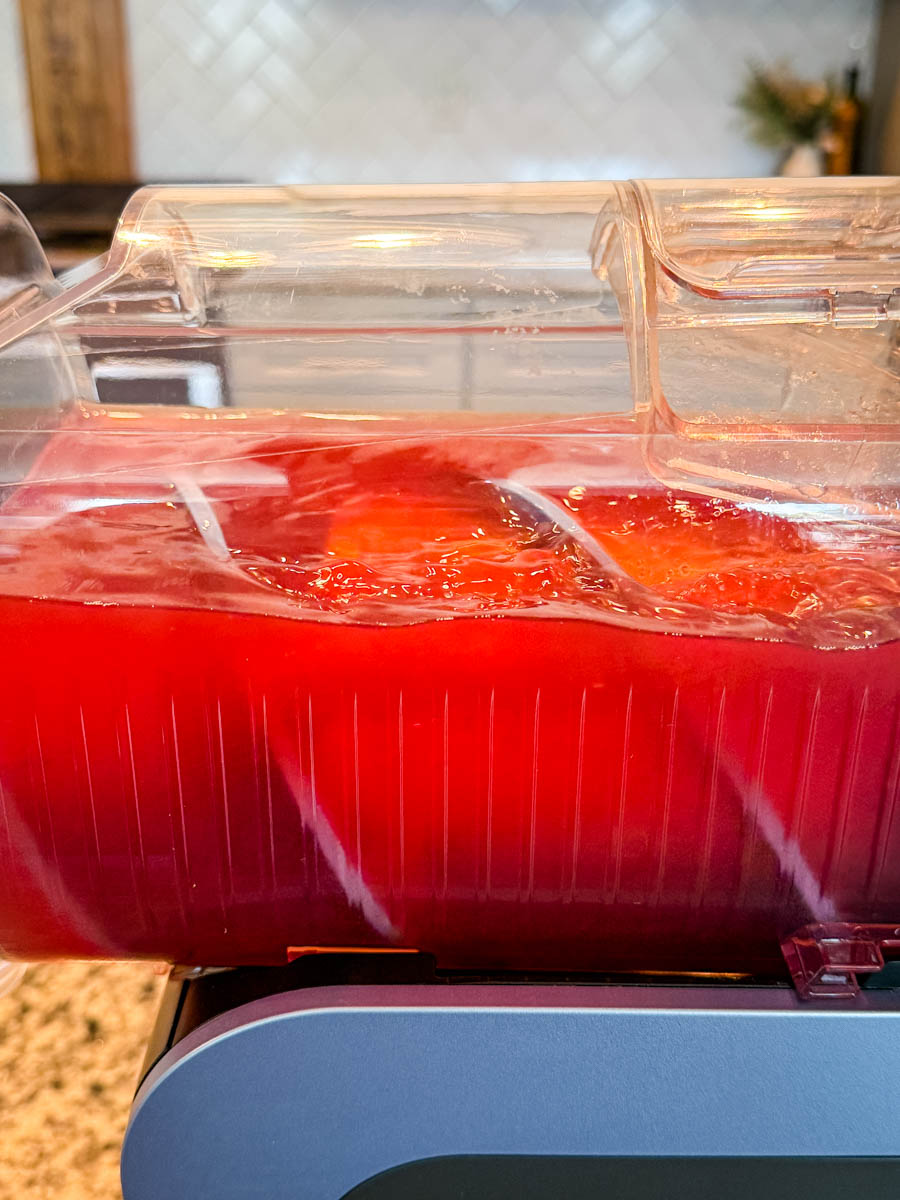
- Turn the machine on and press “Slushi”. Secure the lid, lock everything into place, and hit the Slushi button. That’s it! Let the machine do its thing.
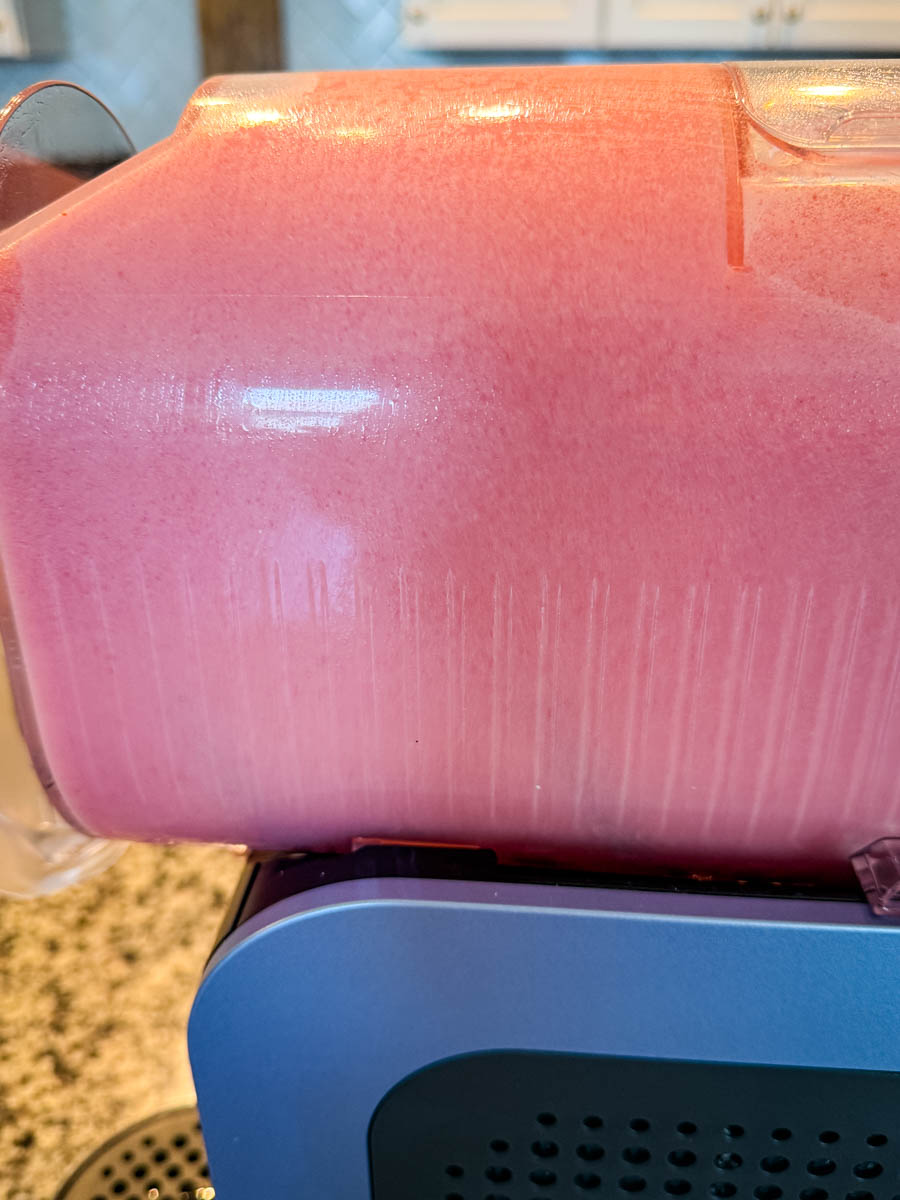
- Let it churn. You’ll see it start thickening into that perfect icy slush texture.
- Taste and adjust. Want it sweeter? Add a splash of simple syrup or a little extra juice and blend again.
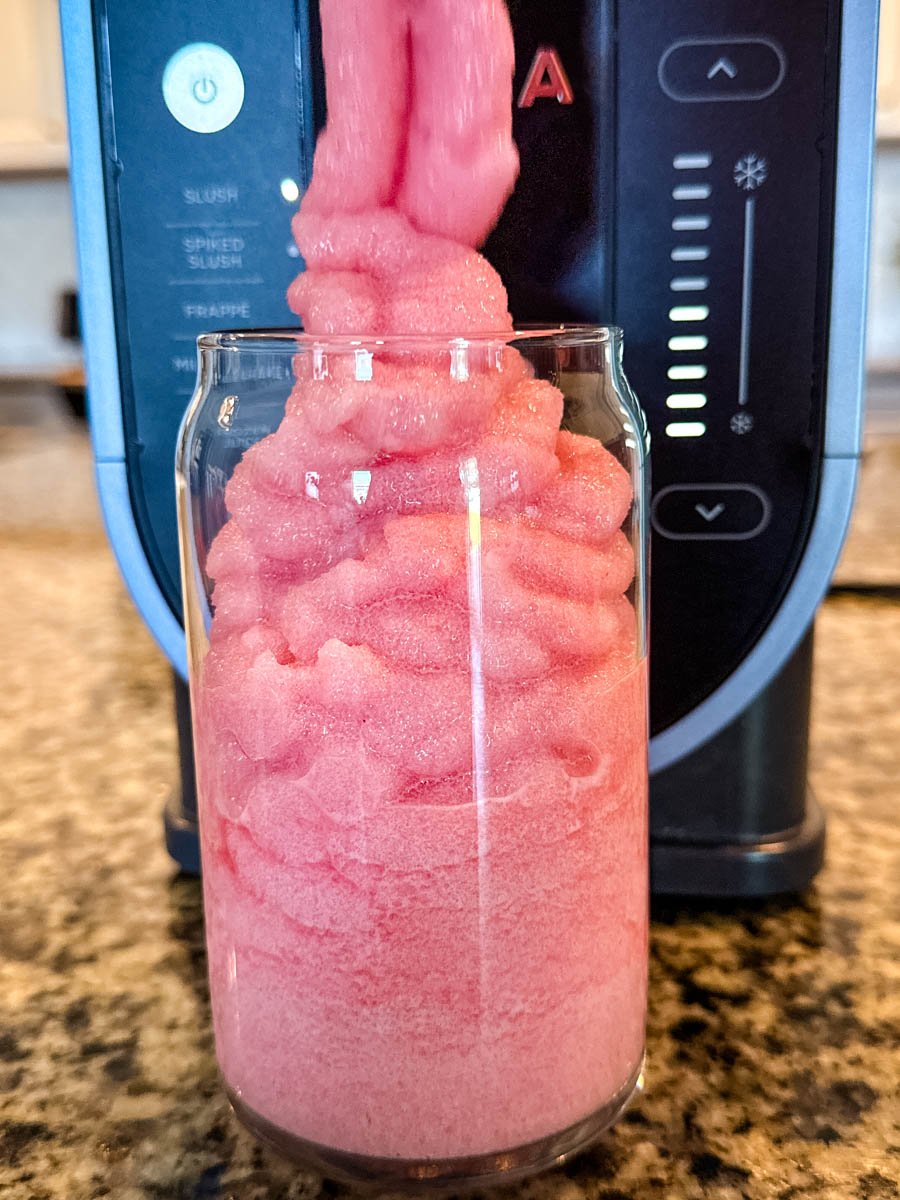
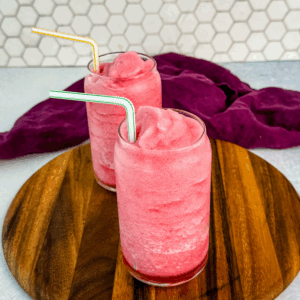
- Serve and enjoy immediately. Once it’s thick and icy, it’s ready to serve! Pour it into glasses, garnish with a cherry or lime wedge if you’re feeling cute, and enjoy right away while it’s still slushy.
Want to save this recipe for later?
Frequently Asked Questions
Any store-bought fruit punch will work. Hawaiian Punch, Minute Maid, or your favorite brand. If you like it less sweet, you can mix in a splash of orange or pineapple juice to cut the sugar.
You can, but you will have to sweeten it with a sugar free sweetener like monkfruit. The machine needs sweetener to process.
You don’t have to, but using cold juice helps the slush freeze faster and come out thicker.
It can take anywhere from 20-45 minutes for the machine to process drinks. Mine was ready around 20 minutes.
Yes! A little rum, vodka, or tequila pairs really well with fruit punch. Just don’t overdo it. Too much alcohol will keep it from freezing properly. Press the spiked slush button on the machine.
Absolutely! You will have to blend it in a blender first before adding it to the machine.
The texture is best fresh out of the machine, but you can freeze it and reblend later if needed.

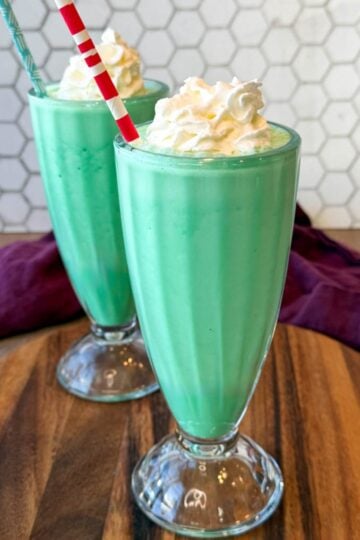
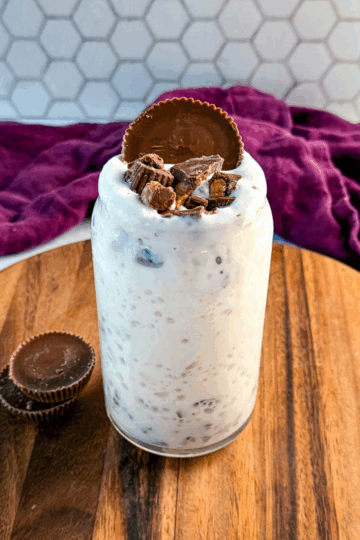
More Ninja Slushi Recipes
Ninja Slushi Chick-fil-A Frosted Lemonade
Ninja Slushi Lemonade
Ninja Slushi Wendy's Frosty
Ninja Slushi Cherry Slush
Ninja Slushi Coffee Frappé (Vanilla Caramel)
Ninja Slushi Strawberry Lemonade Slush
Ninja Slushi Vanilla Protein Shake
Ninja Slushi Fruit Punch Slush
Want to save this recipe for later?
Equipment
Ingredients
- 52 oz fruit punch drink
Instructions
- Grab your favorite fruit punch and pour it into the Ninja Slushi container. You can fill it up to the max fill line—no need to freeze it first.
- Turn the machine on and press “Slushi”. Secure the lid, lock everything into place, and hit the Slushi button. That’s it! Let the machine do its thing.
- Let it churn. You’ll see it start thickening into that perfect icy slush texture.
- Taste and adjust. Want it sweeter? Add a splash of simple syrup or a little extra juice and blend again.
- Serve and enjoy immediately. Once it’s thick and icy, it’s ready to serve! Pour it into glasses, garnish with a cherry or lime wedge if you’re feeling cute, and enjoy right away while it’s still slushy.
Nutrition
Nutrition Data
Macros are provided as a courtesy and should not be construed as a guarantee. This information is calculated using MyFitnessPal.com. To obtain the most accurate nutritional information in a given recipe, you should calculate the nutritional information with the actual ingredients used in your recipe, using your preferred nutrition calculator. You are solely responsible for ensuring that any nutritional information provided is accurate, complete, and useful.
Liz says
so simple but yet soo good! The tips nailed it.
staysnatched says
I'm glad you enjoyed it!