
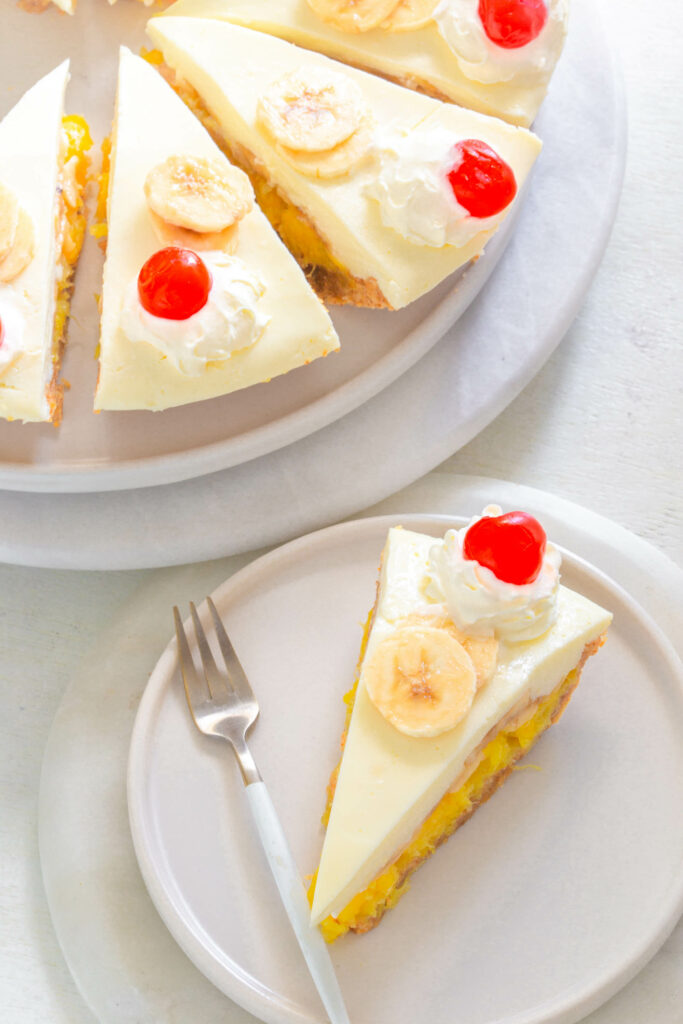
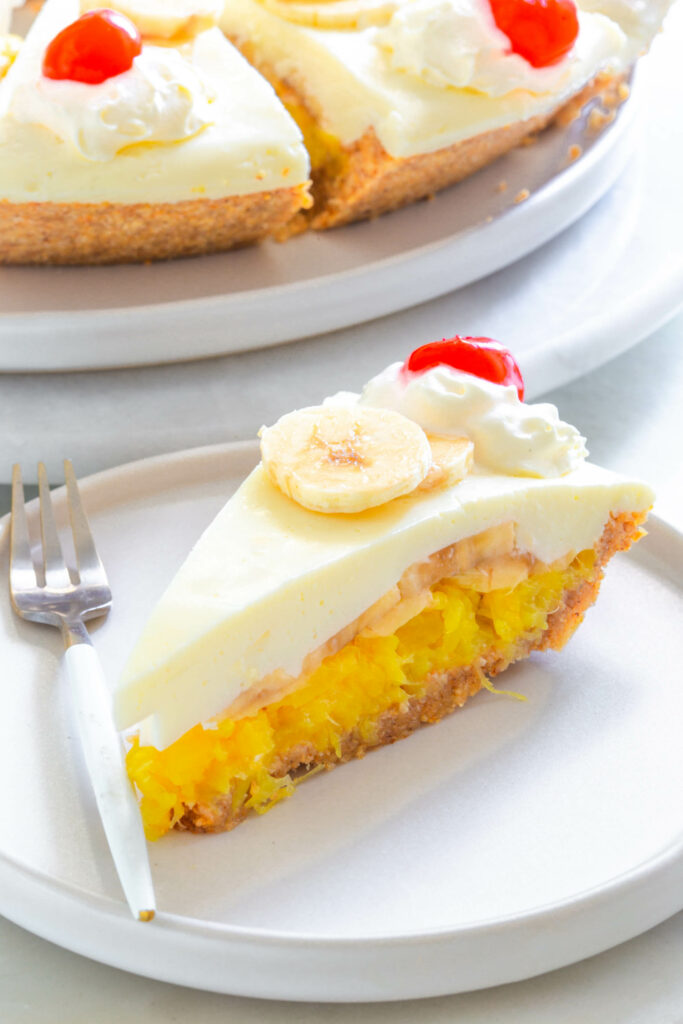
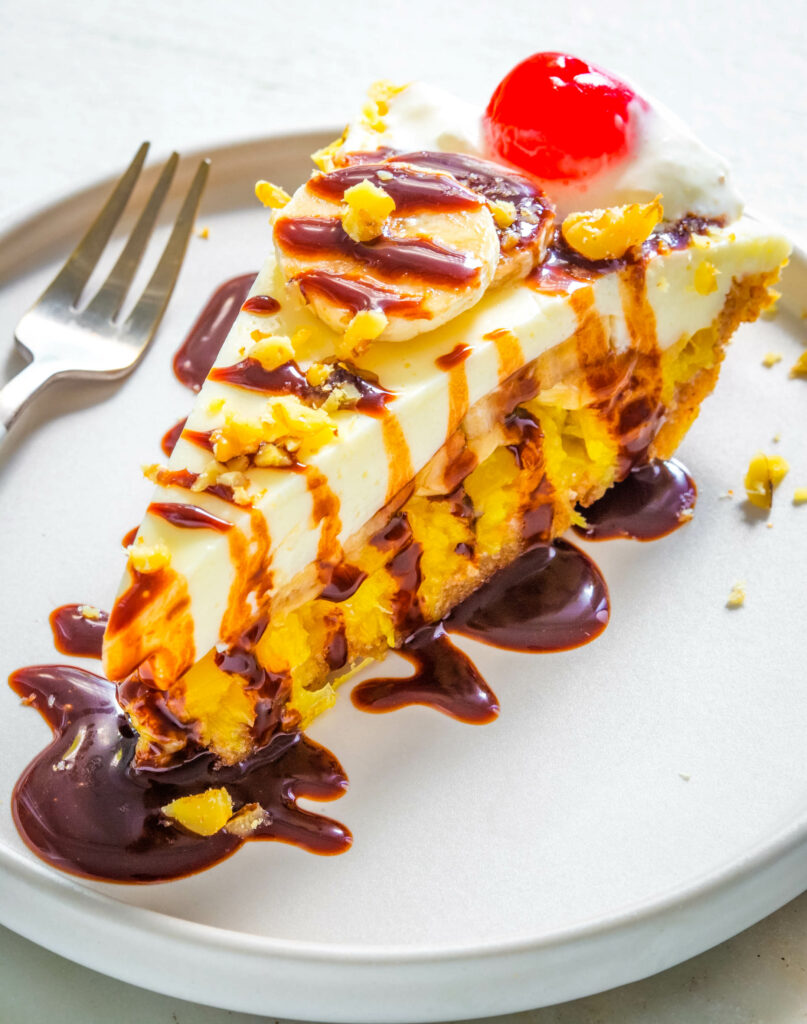
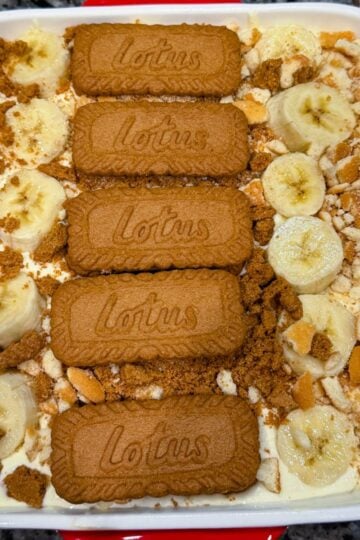
This Easy, No-Bake Banana Split Pie is everything you want in an ice cream sundae. This dessert has a graham cracker crust loaded with pineapples, bananas, and a cream cheese filling with no egg. Serve it with whipped cream, cherries, nuts, and drizzled with chocolate syrup.
This post contains affiliate links. Please read my full disclosure here.
Growing up, I loved a nice trip to Dairy Queen during the summer months. Sometimes my mom would splurge and I could order whatever I want, which was of course the banana split.
This layered dessert resembles just that! It's perfect for the summer months or any holiday or special occasion.
Gelatin/Do You Need to Use Pudding
Gelatin is used in the pie filling as a thickener and to provide texture. It works great for no-bake pies because chilled and at room temperature it's solid. When heated, it becomes liquid.
I use this unflavored gelatin from Amazon, it's also vegan and vegetarian. You can use something like Jell-O and any flavor you like.
You don't use pudding.
Are There Eggs in it?
No eggs! That's what makes this a great no-bake recipe.

Store-Bought Graham Cracker Crust
This pie is made homemade low-carb crust and is so easy to make and doesn't require any baking. You can use store-bought crust if you wish.
Here's how to make it homemade.
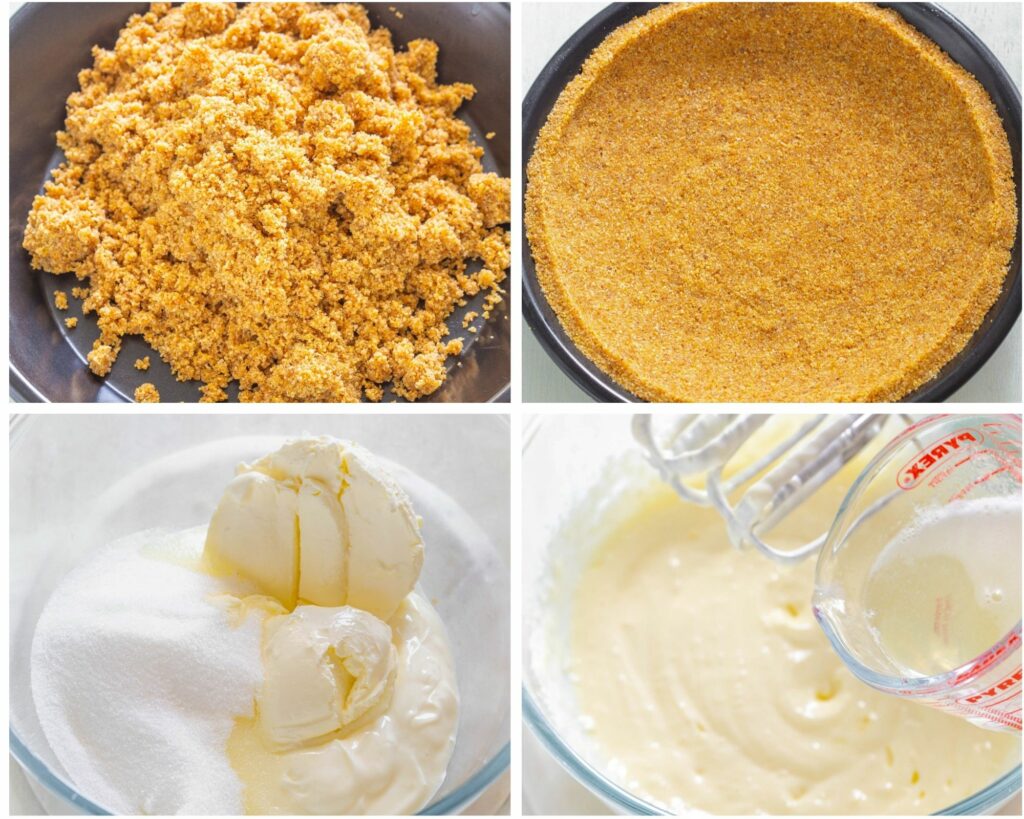
- You will want to start by using blanched almond flour. Add it to a non-stick pan, with no oil on medium-high heat. Stir and toast for 3-4 minutes until fragrant. You don't want to skip this step. This is where the graham cracker taste comes from.
- When toasted add it to a 9.5-inch pie plate along with sweetener, melted butter, salt, and cinnamon.
- Combine and press the crust into the baking dish.
How to Make Banana Split Pie
Full detailed instructions can be found in the recipe card at the bottom of the post.
- Combine gelatin and water and microwave.
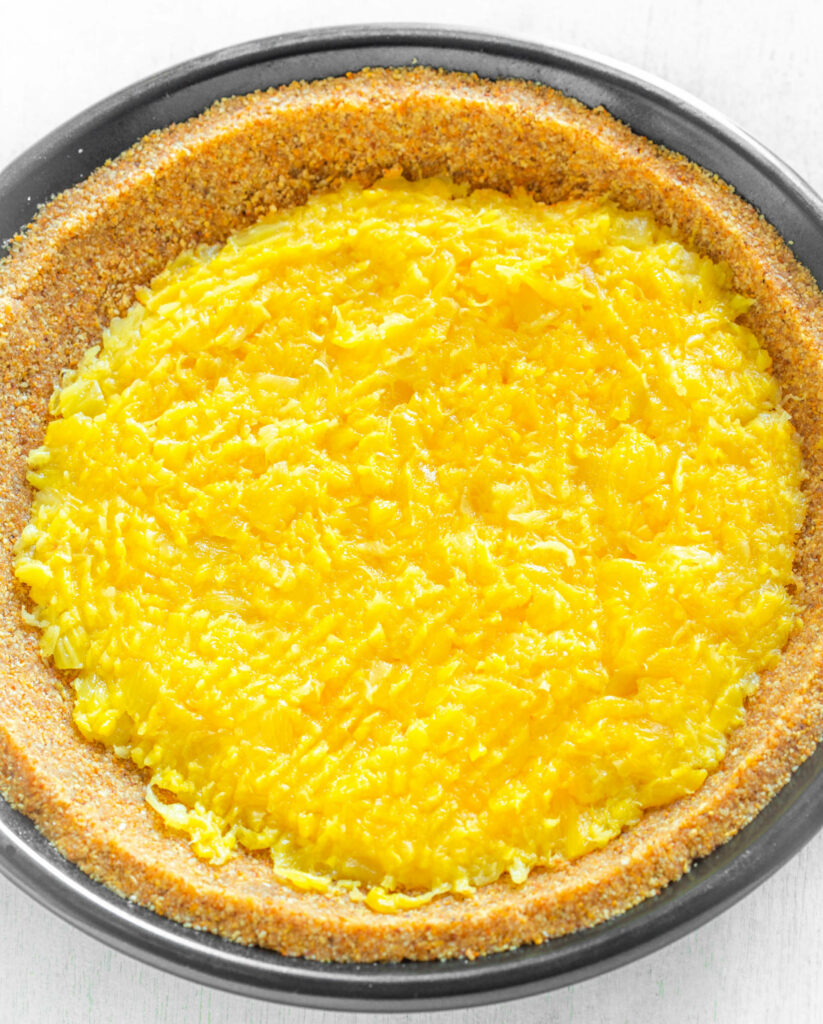
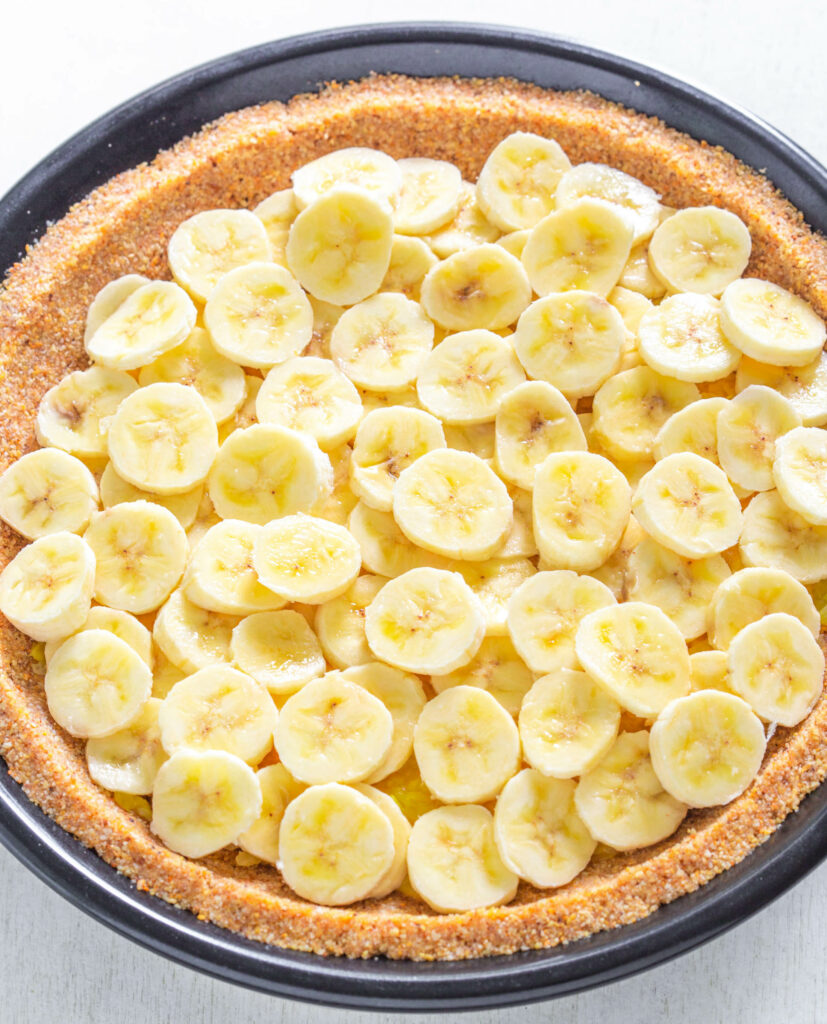
- Add crushed pineapple to the bottom of the pie crust.
- Top with the sliced bananas.
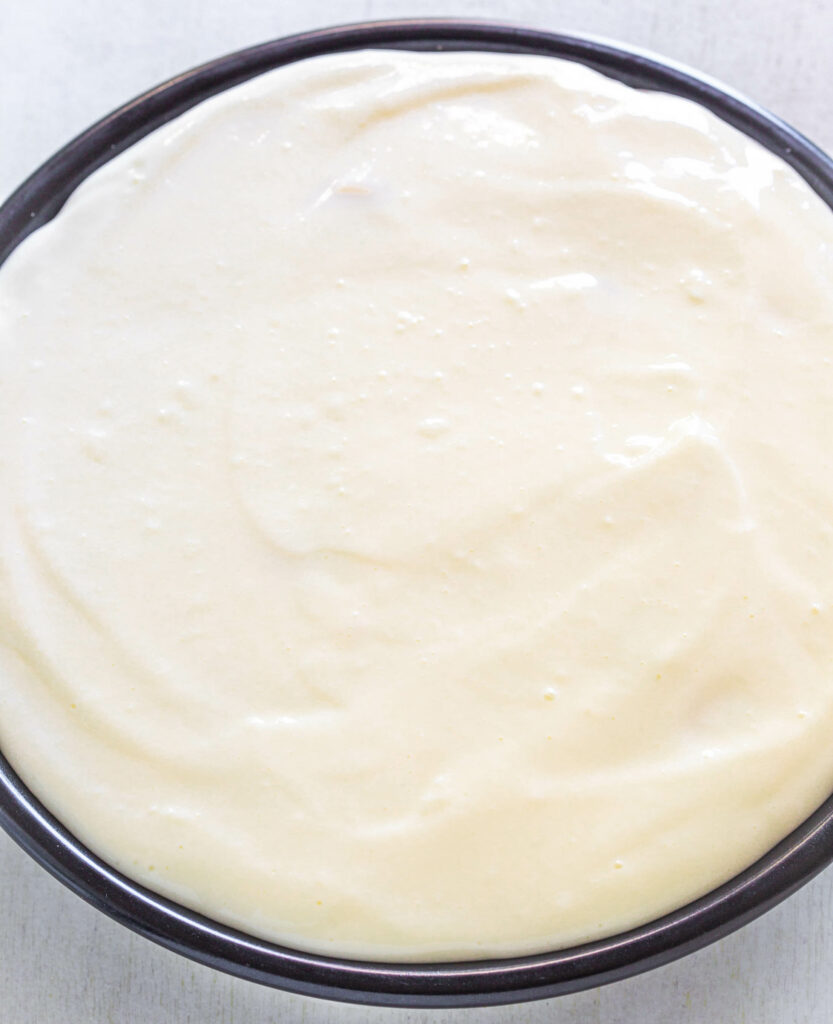
- Add cream cheese, sugar or sweetener, and Greek yogurt to a bowl or stand mixer. Beat until smooth.
- Add in the gelatin mixture. Mix well.
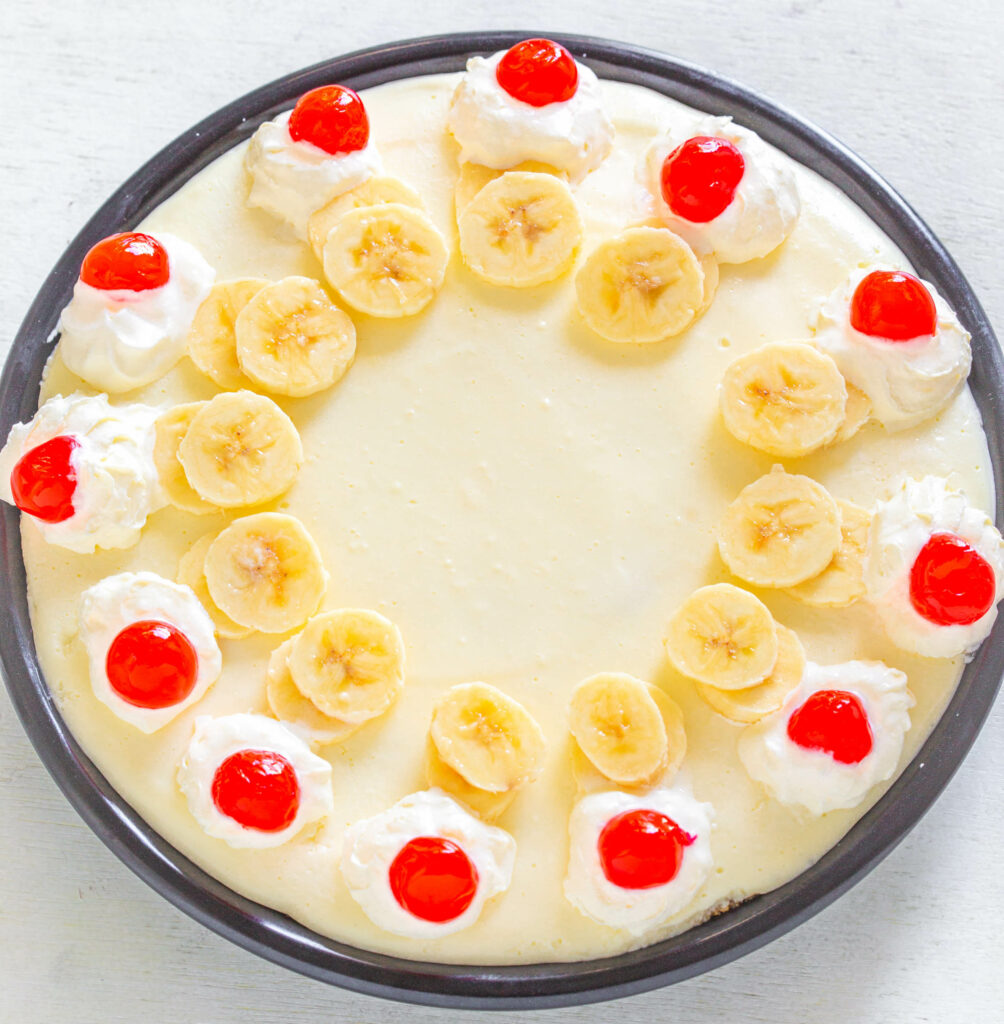
- Pour the filling into the pie crust. Top with the maraschino cherries.
- Chill
Room Temperature Cream Cheese
Dairy ingredients form an emulsion which traps air when at room temperature. Room temperature ingredients bond together very easily since they’re warmer. This will create an evenly textured batter.
Want to save this recipe for later?
If your cream cheese isn't room temp your batter won't be smooth. Cold ingredients do not incorporate together as easily, sometimes at all. This results in clumpy frosting, chunky filling.
More Topping and Substitution Ideas
I have so many fond memories of the banana splits from Dairy Queen. Load this up with all of your favorite ice cream toppings.
- Chocolate Syrup
- Caramel Syrup
- Butterscotch
- Nuts
- Strawberries
- Mango
- Marshmallows
How Long to Refrigerate/Chilling the Pie is Important
The longer you chill the pie, the better the structure of the custard filling. Without adequate chill time, the crust and/or custard will fall apart.
I also recommend using full-fat Greek yogurt or sour cream. This will also help with the structure of the pie. In my experience, low fat resulted in a wobbly filling.
How to Store the Pie
Store the pie in the fridge, tightly covered and sealed for up to 4 days. Because of the pineapples and bananas, this is one you will want to eat or freeze right away. After a day or so, it will start to get a little mushy a little more each day.
Freezer Tips
You can freeze this pie tightly sealed for up to 2 months. I find it's best when consumed within a day or two of preparing.
More Pie Recipes
Sugar Free Apple Pie
Healthy Peach Cobbler
Healthy Southern Sweet Potato Pie
Keto Key Lime Pie
Keto Almond Flour Pie Crust
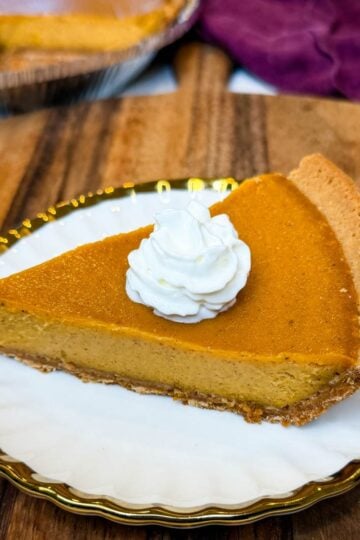
Keto Pumpkin Pie
No-Bake Peanut Butter Pie
More Dessert Recipes
Sugar Free Oatmeal Raisin Cookies
Coffee Cake Muffins
Sugar Free Cheesecake
Sugar Free Lemon Cookies
Sugar Free Chocolate Mug Cake
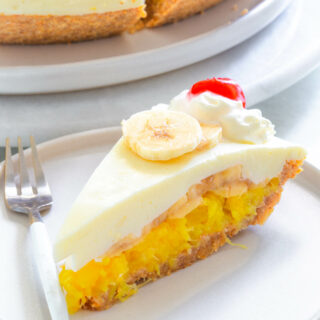
Banana Split Pie (Easy and No-Bake)
Want to save this recipe for later?
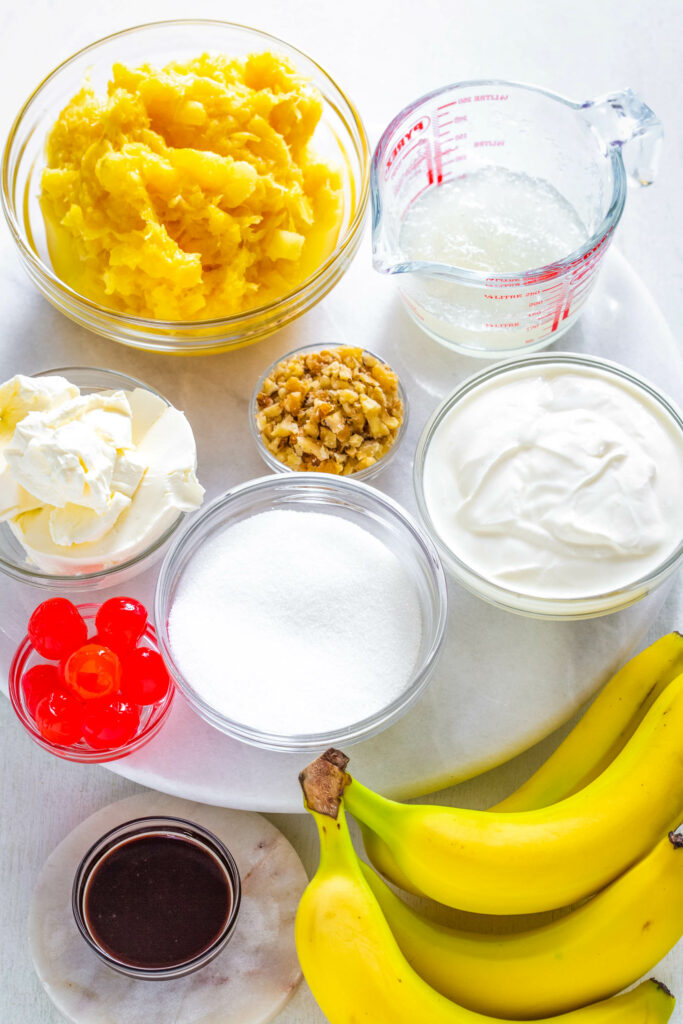
Ingredients
Graham Cracker Crust (Use store-bought graham cracker crust if desired)
- 2 cups blanched almond flour
- 1 teaspoon cinnamon
- ½ cup sugar or sweetener
- ¼ teaspoon salt
- ½ cup unsalted butter 1 stick, Melted
Pie Filling and Toppings
- ¼ cup cold water
- 1 tablespoon gelatin 1 ½ packages. I used unflavored.
- 6 oz cream cheese Must be at room temperature.
- 1 cup plain Greek yogurt I use full fat. You can also use sour cream.
- ¾ cup sugar or sweetener
- 20 oz crushed pineapple Drained thoroughly.
- 4 bananas Sliced
- 10 maraschino cherries
Optional
- chopped nuts
- chocolate syrup
Instructions
Crust
- Place a skillet on medium high heat. When hot, add the almond flour.
- Stir for 2-4 minutes to toast the almond flour until it’s golden and fragrant. This adds flavor.
- Add the toasted almond flour to a 9.5 inch pie plate, along with the cinnamon, sweetener, and salt. Stir to combine.
- Gradually add in the butter and mix to combine.
- Spray the pie plate with cooking oil to prevent sticking. Press the crust into the bottom of the pie plate.
Filling
- Sprinkle the gelatin in the cold water in a microwave-safe bowl or glass measuring cup. Stir to combine. It will look lumpy. Set aside for 5 minutes to soften. Once softened, microwave the gelatin for 20 to 30 seconds. Stir until the gelatin dissolves. Set aside and assemble the pie.
- Add the crushed pineapple to the bottom of the pie crust. Be sure your pineapples do not have any excess liquid. Blot using paper towels or cheesecloth. If it has excess liquid, it will seep into the crust and the crust will fall apart when you slice it.
- Top with the sliced bananas.
- Add the cream cheese, sugar or sweetener, and Greek yogurt to a bowl or stand mixer. Beat until smooth using a hand mixer or standing mixer.
- Add in the gelatin mixture. Mix well. Taste the filling to ensure it suits your taste. Make adjustments as necessary. Add more sugar or sweetener if necessary.
- Pour the filling into the pie crust. Top with the maraschino cherries.
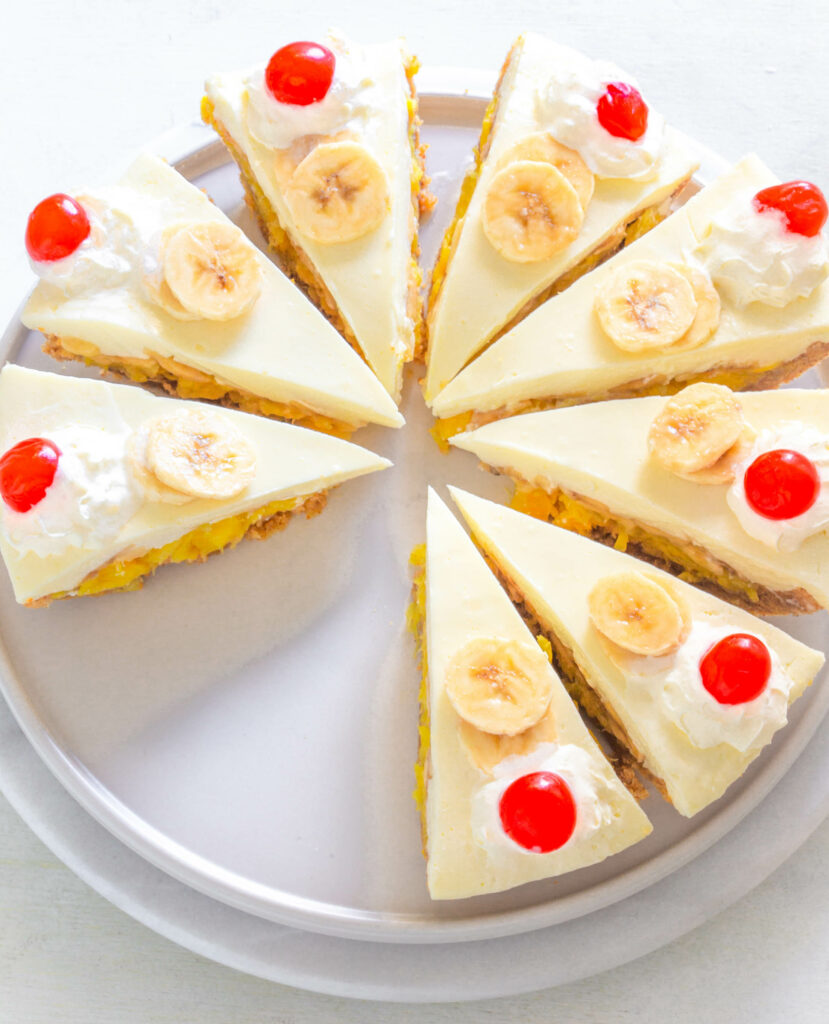
- Chill for a minimum of 2-3 hours until set. I prefer to freeze it for an hour and a half. Upon freezing I place the pie on the counter for 10 minutes and then slice into it.
Video
Notes
- You can use store-bought graham cracker crust if you prefer.
- If your cream cheese isn't room temp your batter won't be smooth. Cold ingredients do not incorporate together as easily, sometimes at all. This results in clumpy frosting, chunky filling.
- I use monkfruit sweetener, but you can use regular refined sugar if you wish. You can use the same amount noted in the recipe.
- I assemble the pie prior to mixing the filling because the gelatin will thicken the filling. You want to get the filling into the pie before it starts to thicken and set.
- I use unflavored gelatin, but you can use banana-flavored or any flavor you like.
- I use a nonstick pan or cast-iron skillet to toast the almond flour. I didn't need oil. If you don't use nonstick or a good cast iron, you may need oil.
- If you don't toast the almond flour, the crust won't taste like graham crackers.
- The longer you chill the pie, the better the structure of the custard filling. Without adequate chill time, the crust will fall apart.
- You can add a teaspoon of vanilla extract if you want vanilla flavor.
- Coconut oil can be substituted for butter in the crust. You can use the same amount.
- If your filling is too runny or the pie doesn't set, you likely didn't fully incorporate the gelatin with the water. Your cream cheese also may not have been at room temperature.
- For the crust, you can use powdered (Confectioner's) or granular sweetener. Typically, with no-bake recipes or crusts, I only use powdered sweeteners. Sometimes you can taste the texture of the sweetener when granular is used. Powdered is much smoother. I didn't run into this issue with this pie and found they will both work just fine. If this is an issue for you, use powdered.
- A 9-10 inch pie plate will make 10 standard slices of pie. If you cut larger slices that will impact the macros. Feel free to use the macro calculator of your choice for these calculations.
Nutrition
Nutrition Data
Macros are provided as a courtesy and should not be construed as a guarantee. This information is calculated using MyFitnessPal.com. To obtain the most accurate nutritional information in a given recipe, you should calculate the nutritional information with the actual ingredients used in your recipe, using your preferred nutrition calculator. You are solely responsible for ensuring that any nutritional information provided is accurate, complete, and useful.

Leave a Reply