

I love a homemade pie, but I’m also not about to act like we need to make every single thing from scratch. This Pumpkin Pie with Frozen Crust gives you that classic, creamy spiced pumpkin filling without fooling around with homemade dough. I’ve made enough holiday recipes over the years to know where you can take a shortcut and where you absolutely cannot, and honey, the crust is one of those places. The filling is where we’re putting in the work, and nobody at the table needs to know anything else.
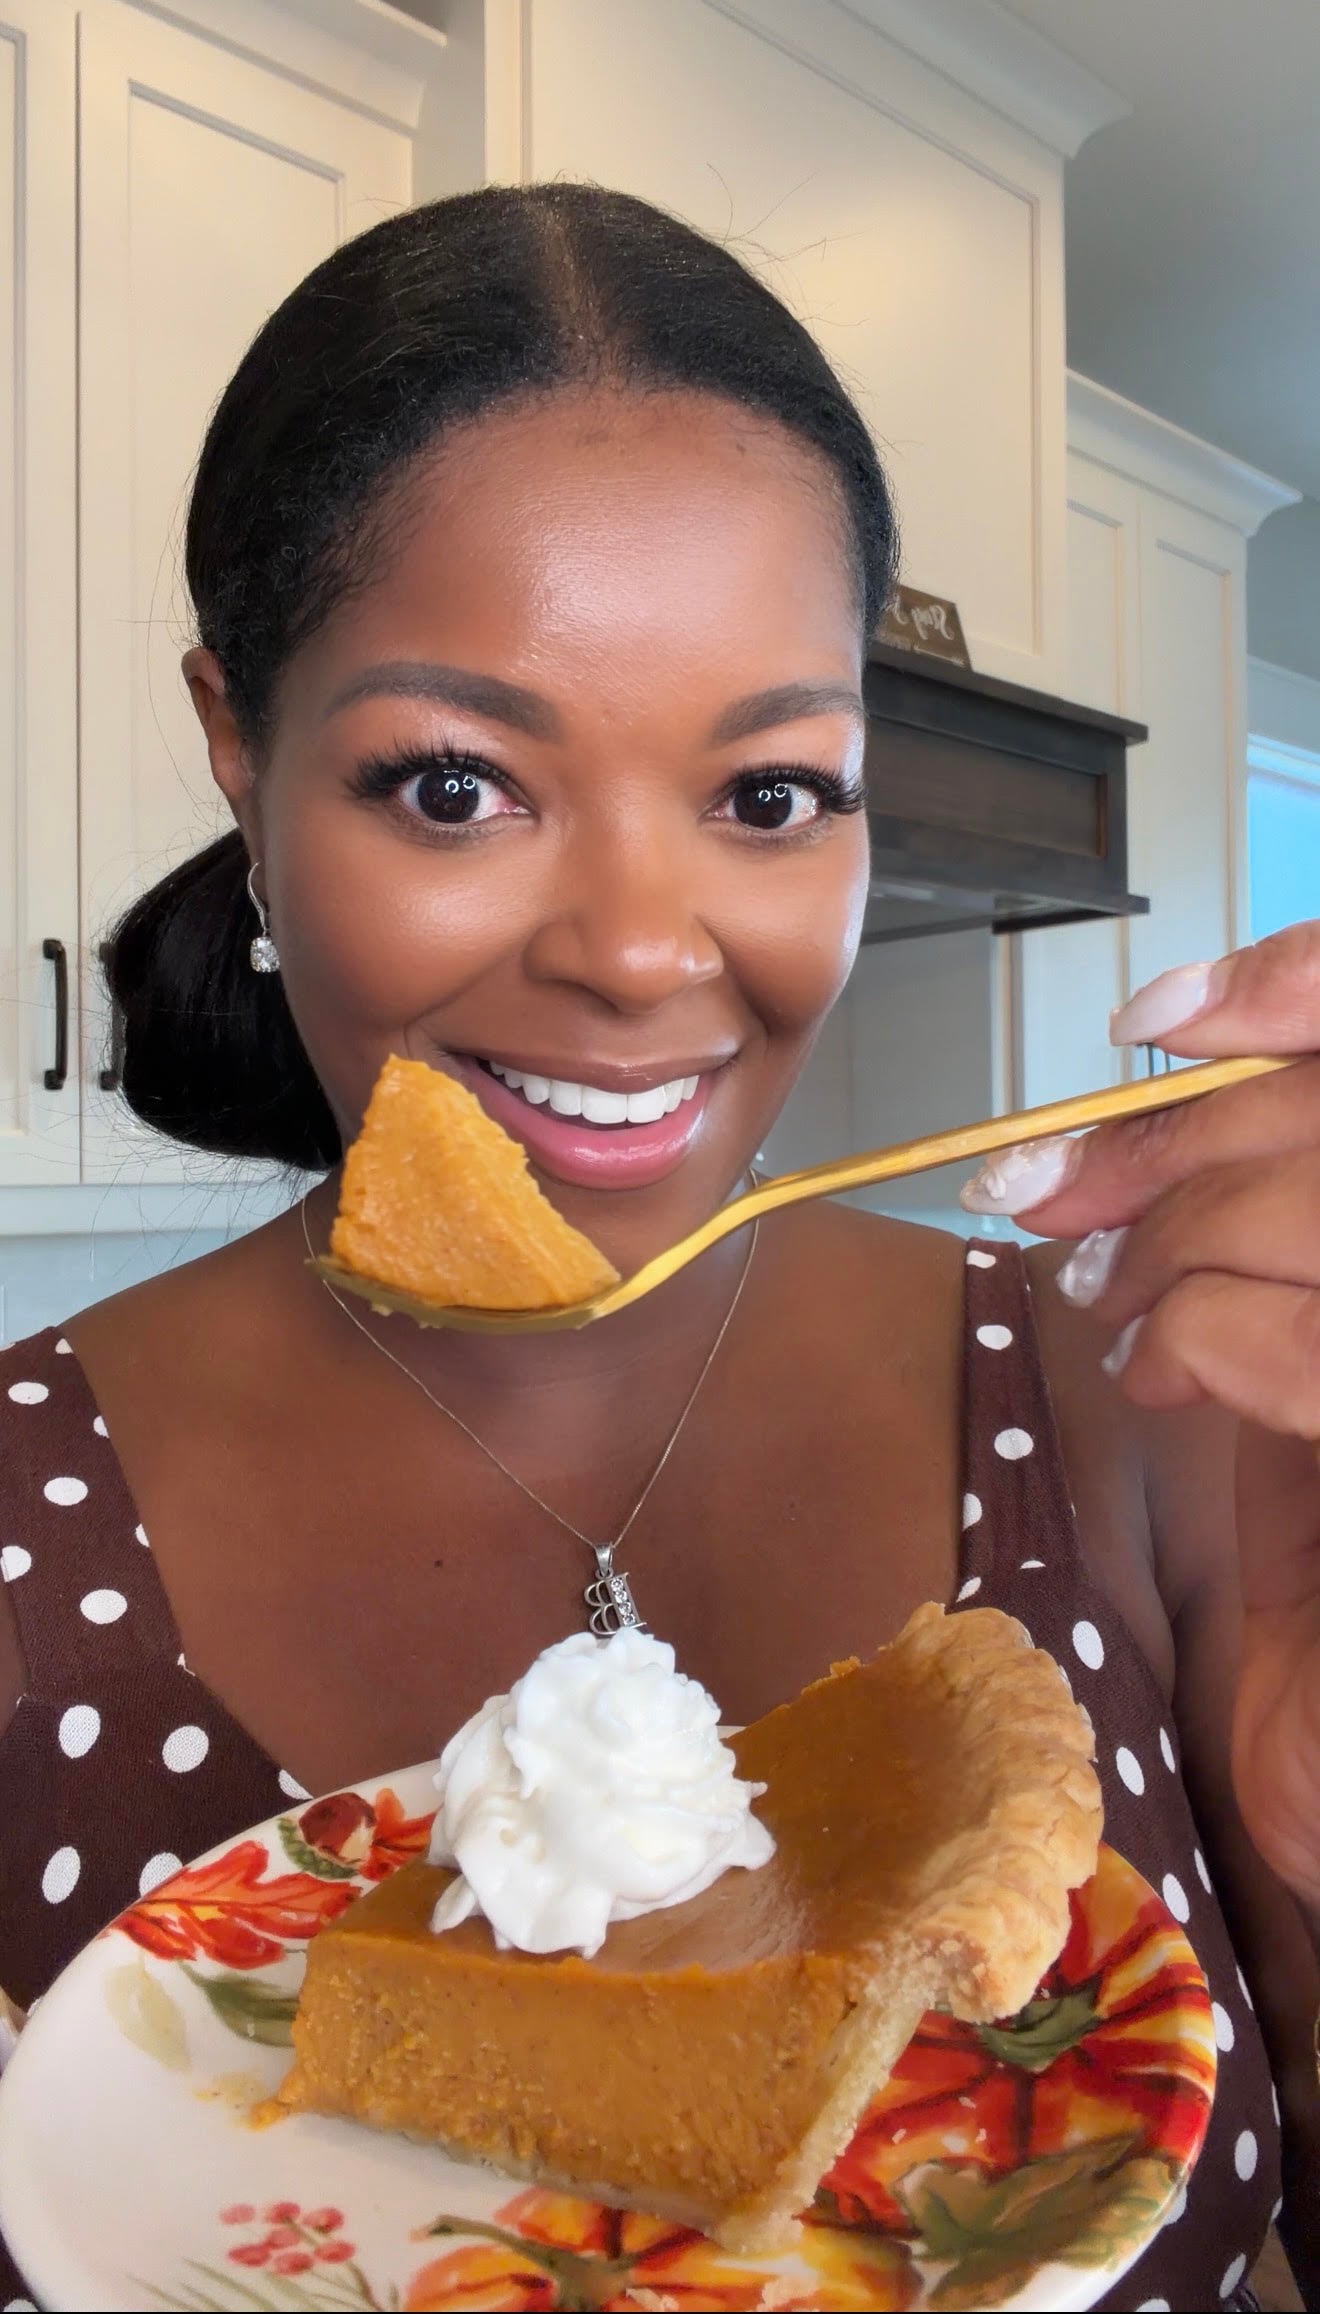
Here's The Tea From Brandi
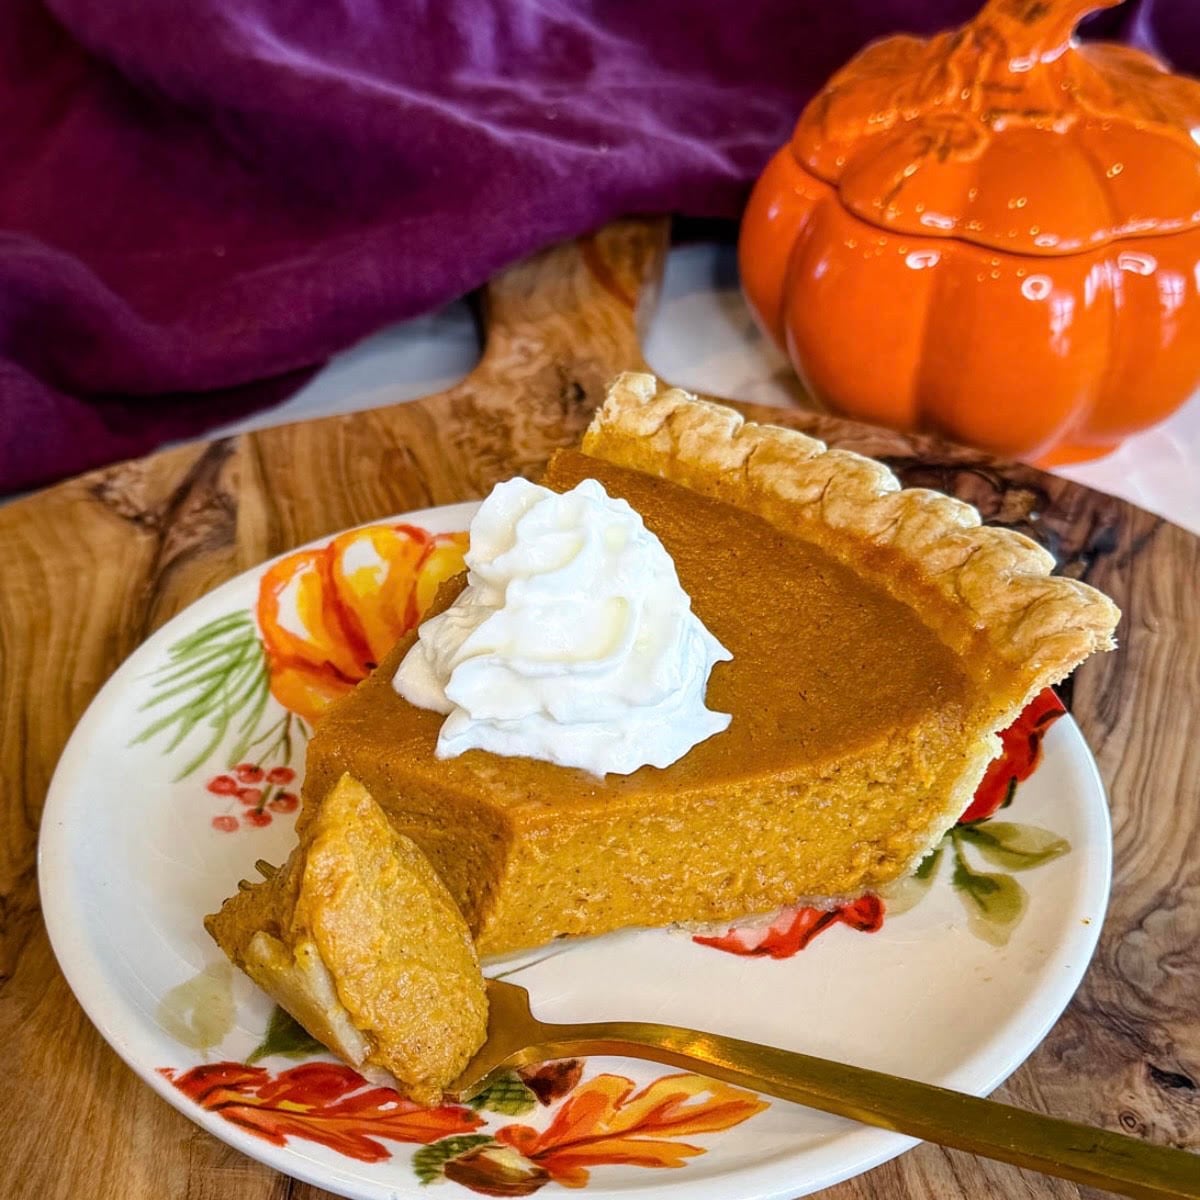
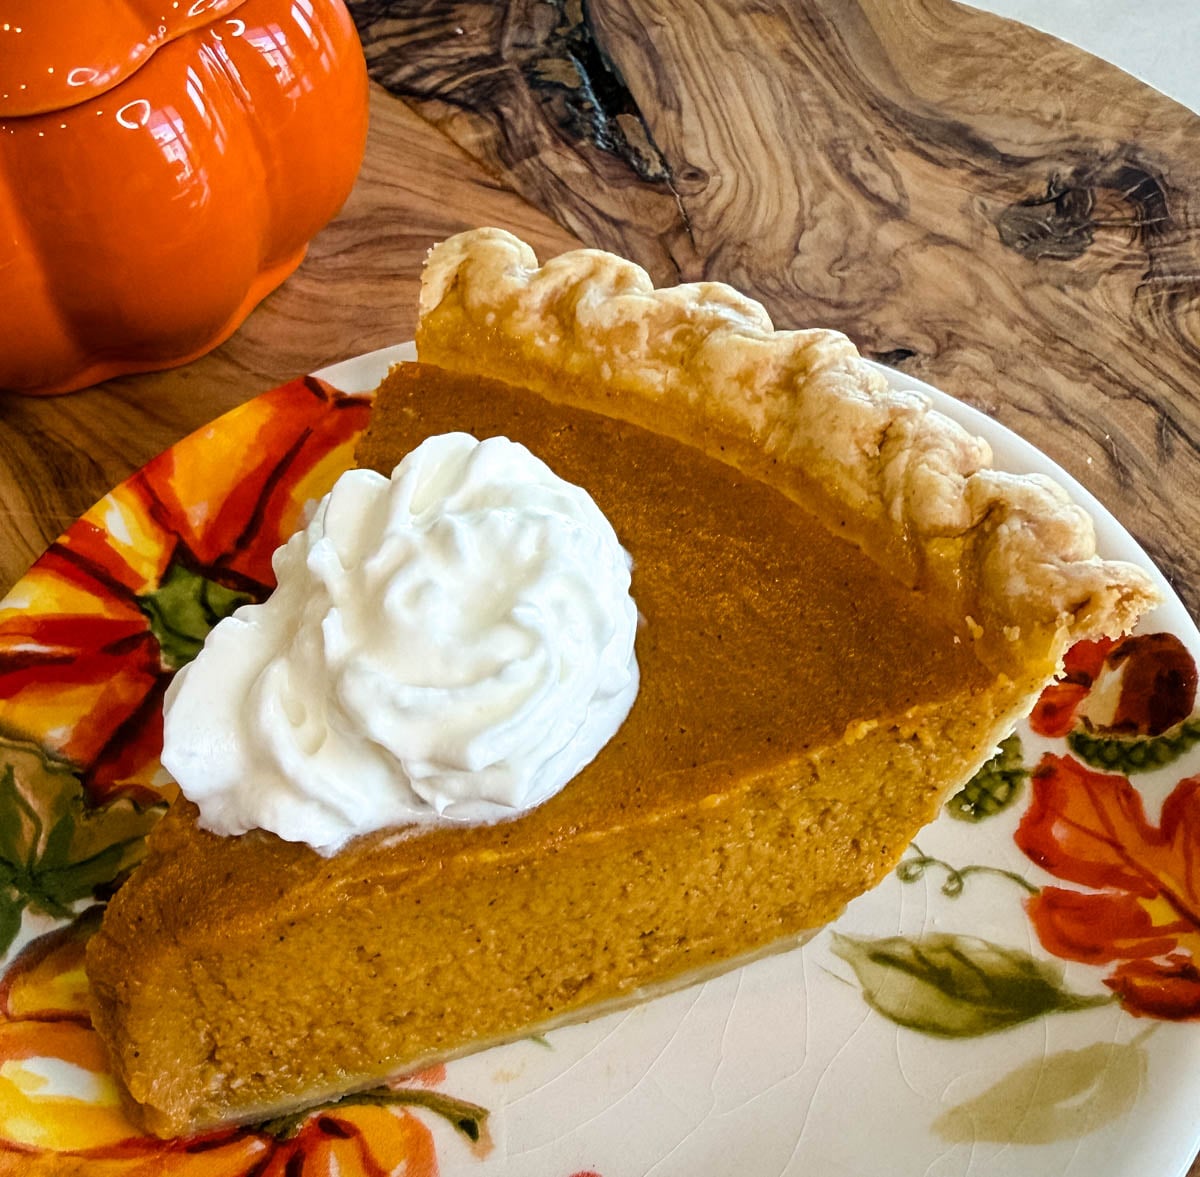
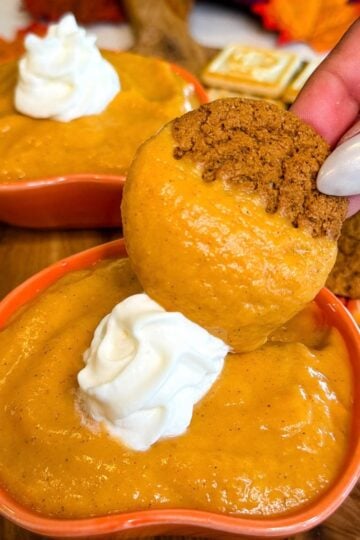
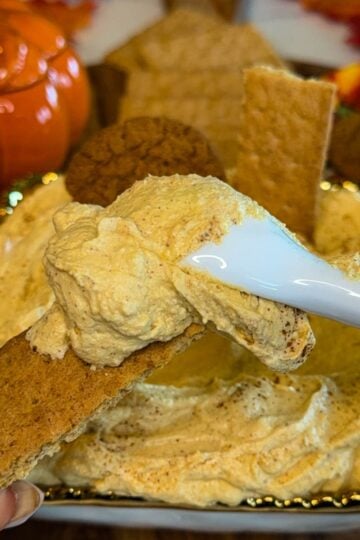
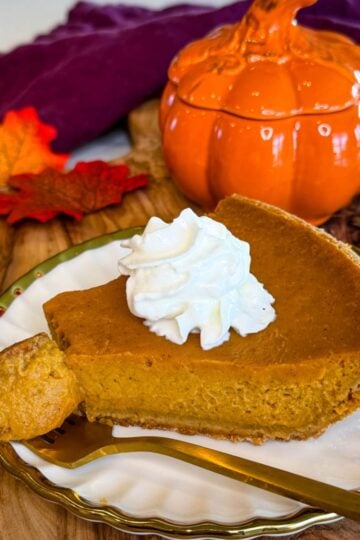
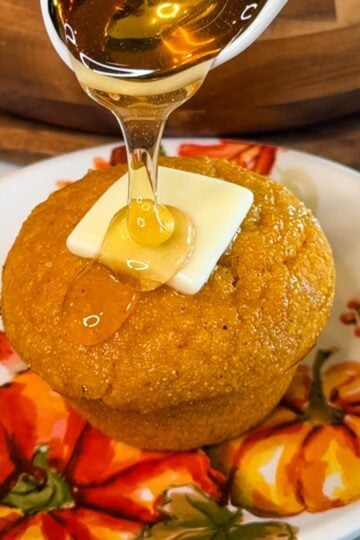
The key is baking it long enough for the edges to set while the center still has a slight jiggle, because nobody asked for dry, cracked pumpkin pie. Give it plenty of time to cool and set before slicing, and watch how quickly everybody forgets that crust came from the freezer. You will also love my pumpkin pie dip, pumpkin honey cornbread and pumpkin pie with graham cracker crust.
Pumpkin Pie Ingredients
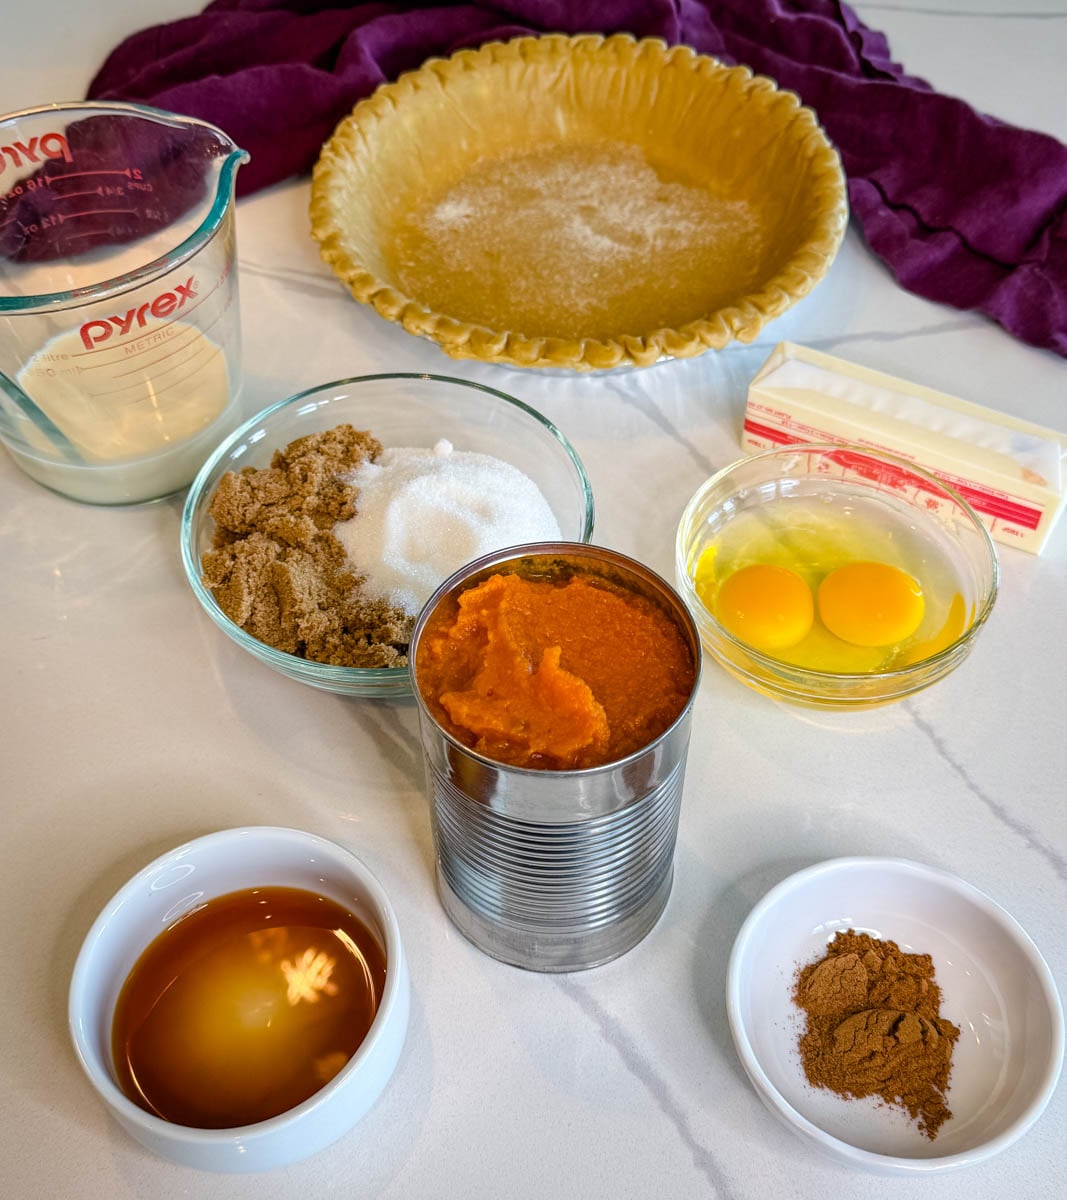
- Pureed Pumpkin: Use 100% pure pumpkin puree, not pumpkin pie filling. The cans look similar, but pumpkin pie filling already has sugar and spices added, which can throw off the flavor.
- Butter
- Granulated Sugar
- Brown Sugar
- Evaporated Milk: I use this because it creates a creamy texture. Evaporated milk gives the filling a silky consistency without making it heavy. It helps the pie set properly because it contains less water than whole milk, you're less likely to end up with a runny filling.
- Eggs
- Vanilla Extract
- Pumpkin Pie Spice: Pumpkin pie spice does a lot of the heavy lifting when it comes to flavor. It's a blend of warm spices like cinnamon, nutmeg, ginger, and allspice that pairs perfectly with pumpkin. Instead of measuring several spices individually, you get all of those cozy fall flavors in one simple ingredient.
- Frozen Pie Crust
How to Make Pumpkin Pie with Frozen Crust
Detailed measurements and full instructions can be found in the recipe card at the bottom of this post.
Want to save this recipe for later?
- Prep the Oven: Preheat the oven to 350°F (177°C).
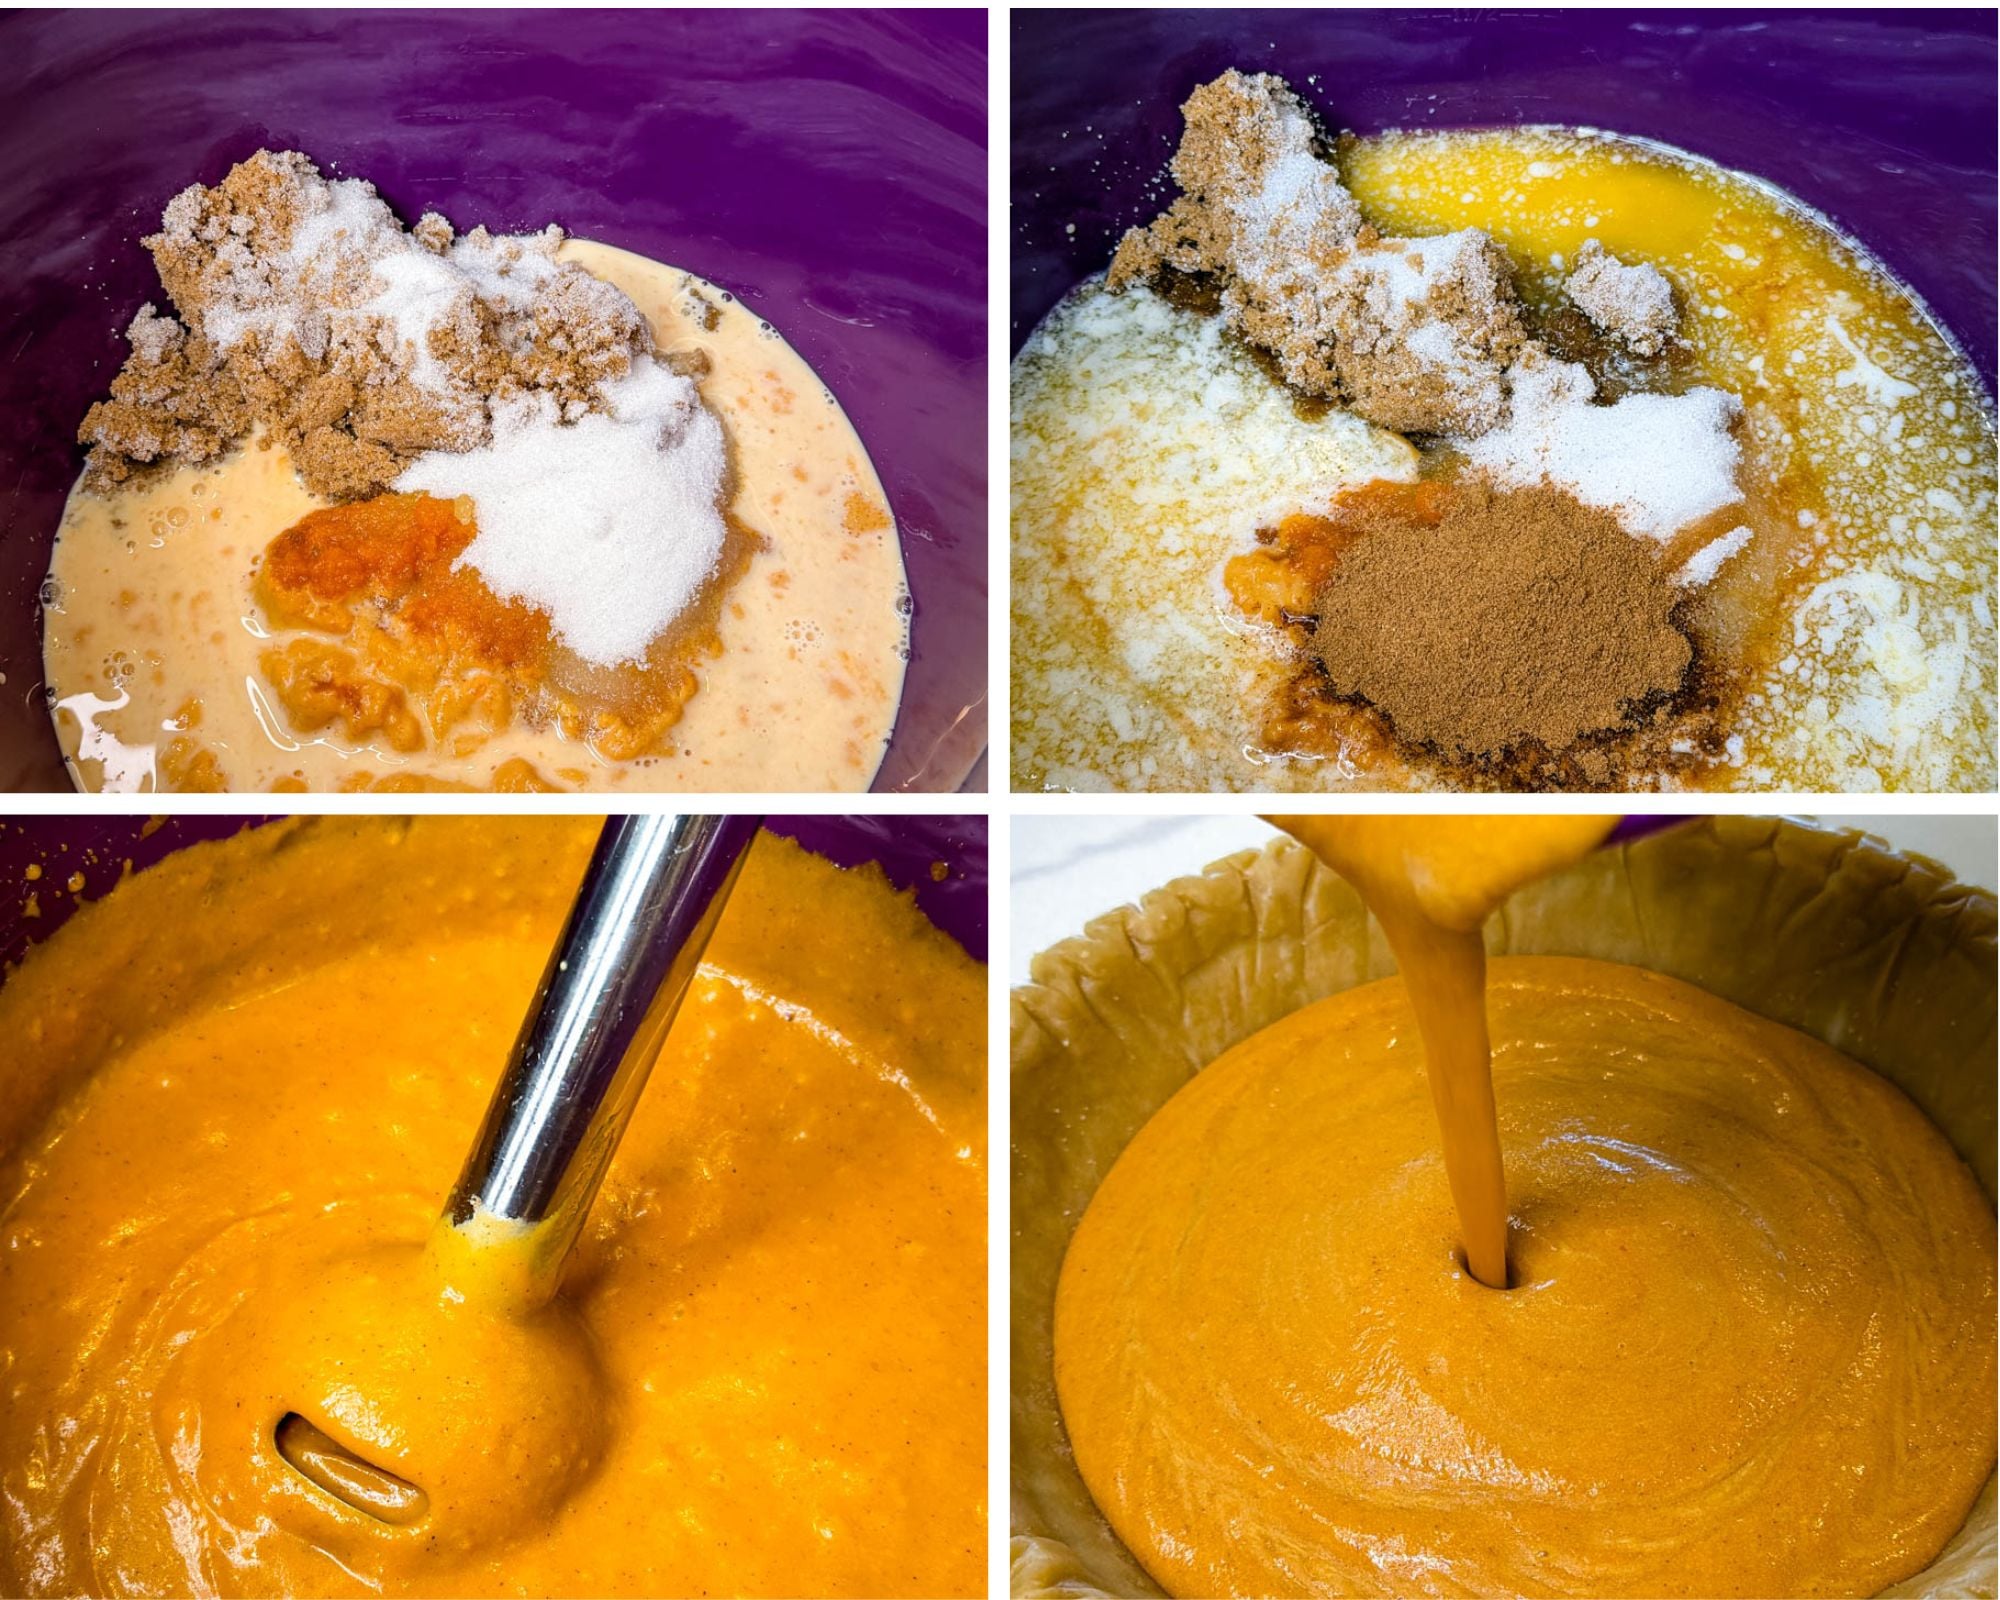
- Make the Filling: Add pureed pumpkin, melted butter, granulated sugar, brown sugar (or your preferred sweetener combination), evaporated milk, eggs, vanilla extract, and pumpkin pie spice to a large mixing bowl.
- Blend the Filling: Blend using an immersion blender until completely smooth and creamy. You can also use a food processor or high-powered blender. Scrape down the sides of the bowl as needed to make sure everything is evenly incorporated.
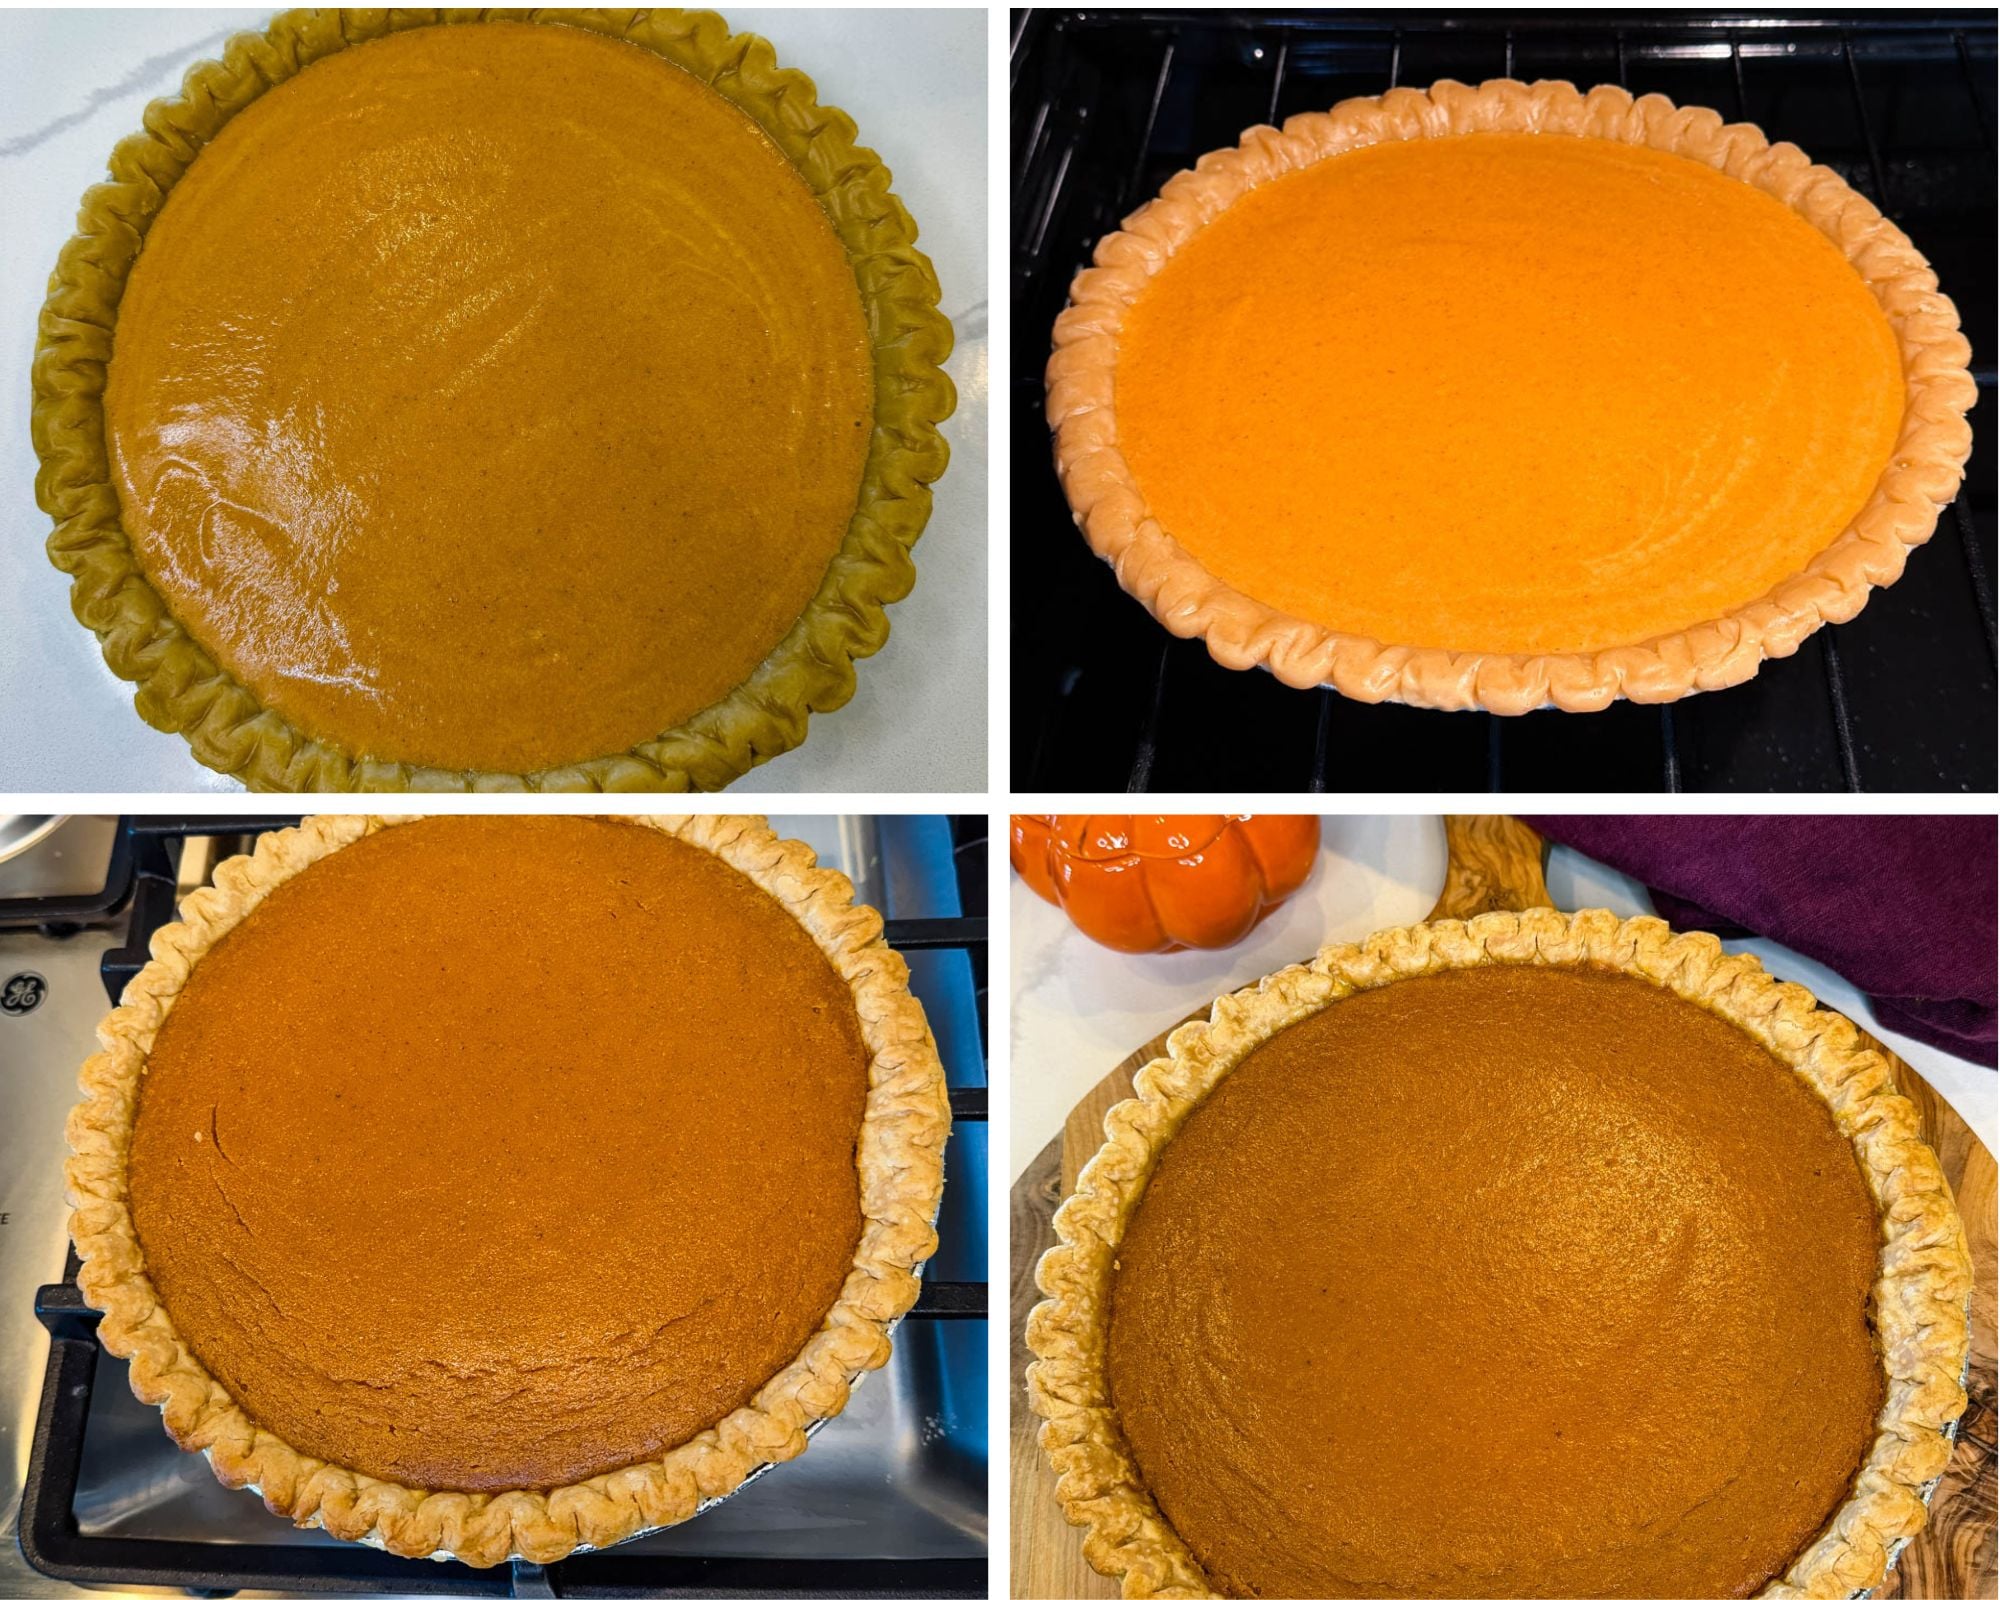
- Fill the Pie Crust: Pour the pumpkin filling into a thawed pie crust. Use a spatula to smooth the top into an even layer.
- Bake: Bake for 20 minutes. Check in on the pie to observe the edges. If the edges are starting to brown, add a piece of foil (larger than the pie pan) and place it on top just to tint, not fully cover, and prevent excess browning on the crust. I have found I don't usually need to do this and it bakes just fine without the foil. Bake an additional 25-30 minutes or until the edges are set and the center has a slight jiggle when gently shaken. The pie will continue to set as it cools, so avoid overbaking.
- Cool: Transfer the pie to a wire rack and let it cool completely at room temperature.
- Optional Chill: I like to make my pies the day before because they area always better the next day. Refrigerate the pie for at least 4 hours, preferably overnight. Chilling helps the filling fully set and makes slicing much easier.
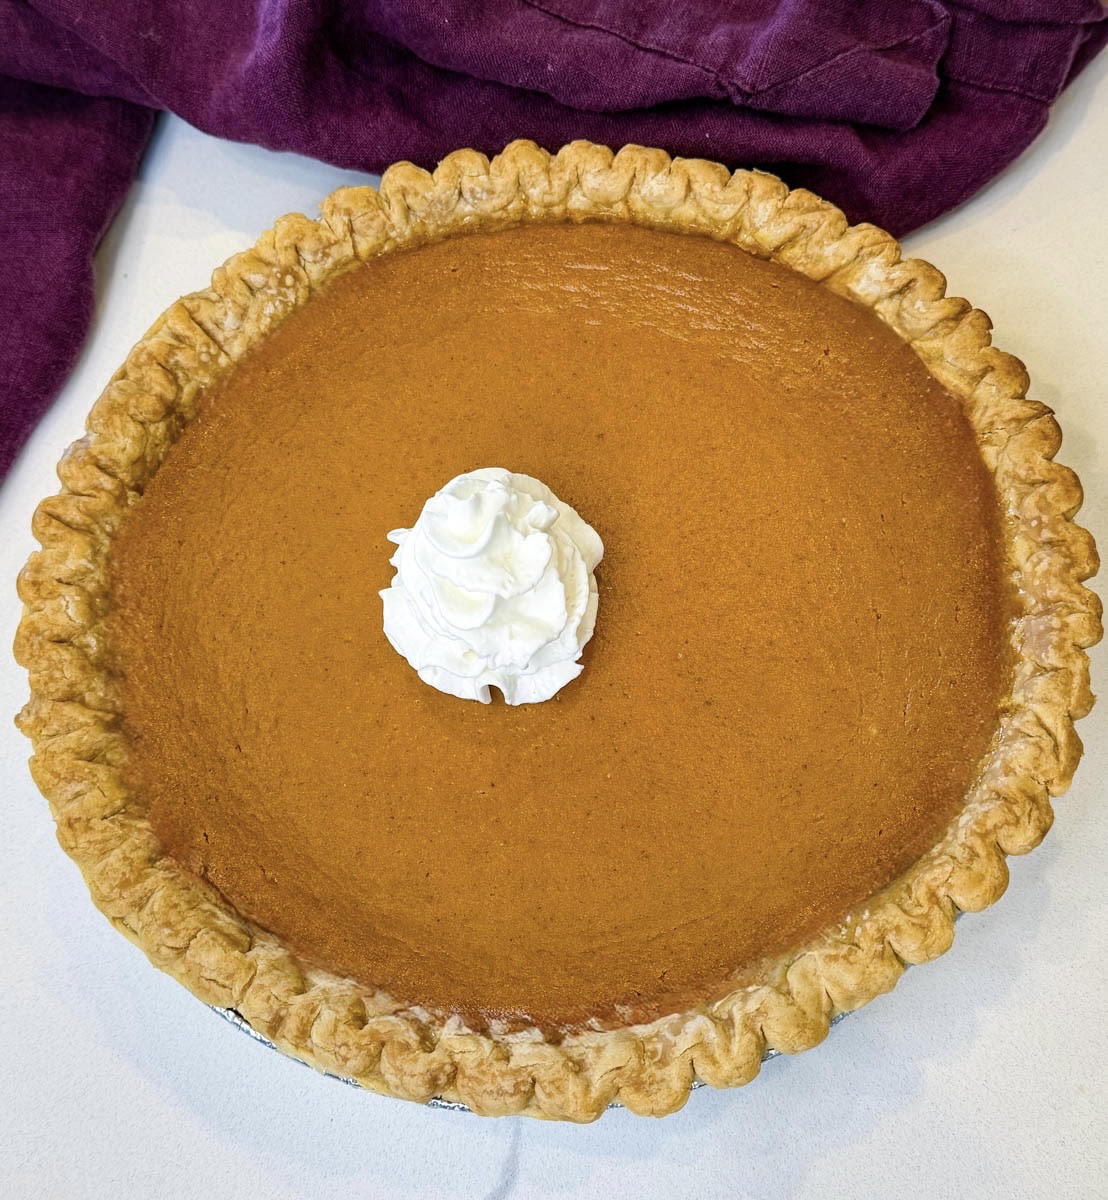
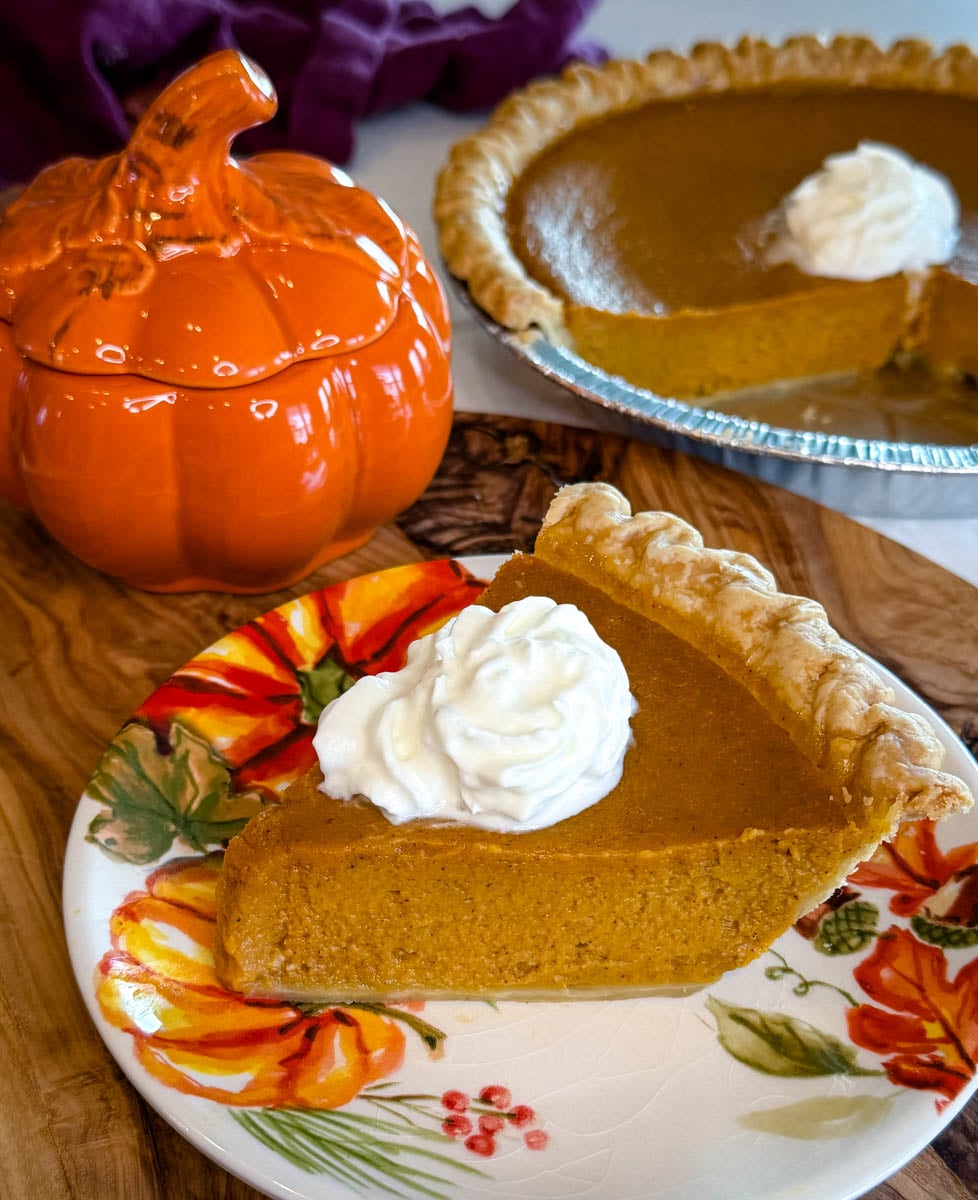
- Serve: Slice and serve chilled or at room temperature. Top with whipped cream, if desired.
Pumpkin Pie with Frozen Crust
Want to save this recipe for later?
Equipment
Ingredients
- 15.5 oz canned 100% pure pureed pumpkin Not pumpkin pie filling.
- ½ cup melted unsalted butter Measured solid.
- 1 cup granulated sugar or brown sugar I like to do a mix of ½ cup sugar and ½ cup brown sugar.
- ½ cup evaporated milk
- 2 eggs Must be at room temperature.
- 1 teaspoon vanilla extract
- 2 teaspoons pumpkin pie spice
- 9 inch frozen pie crust Thawed
Instructions
- Preheat the oven to 350°F (177°C).
- Add pureed pumpkin, melted butter, granulated sugar, brown sugar (or your preferred sweetener combination), evaporated milk, eggs, vanilla extract, and pumpkin pie spice to a large mixing bowl.15.5 oz canned 100% pure pureed pumpkin, ½ cup melted unsalted butter , 1 cup granulated sugar or brown sugar, ½ cup evaporated milk, 2 eggs , 1 teaspoon vanilla extract, 2 teaspoons pumpkin pie spice
- Blend using an immersion blender until completely smooth and creamy. You can also use a food processor or high-powered blender. Scrape down the sides of the bowl as needed to make sure everything is evenly incorporated.
- Taste the mixture and adjust the spices as needed. This is important. You want to be sure it's sweet enough for you. Add more sugar if it needs it.
- Add the eggs and mix once you have tasted the pie.
- Pour the pumpkin filling into a thawed pie crust. Use a spatula to smooth the top into an even layer.9 inch frozen pie crust
- Bake for 20 minutes. Check in on the pie to observe the edges. If the edges are starting to brown, add a piece of foil (larger than the pie pan) and place it on top just to tint, not fully cover, and prevent excess browning on the crust. I have found I don't usually need to do this and it bakes just fine without the foil. Bake an additional 25-30 minutes or until the edges are set and the center has a slight jiggle when gently shaken. The pie will continue to set as it cools, so avoid overbaking.
- Transfer the pie to a wire rack and let it cool completely at room temperature.
- I like to make my pies the day before because they area always better the next day. Refrigerate the pie for at least 4 hours, preferably overnight. Chilling helps the filling fully set and makes slicing much easier.
- Slice and serve chilled or at room temperature. Top with whipped cream, if desired.
Notes
- Why is my pie filling lifting away from the crust? Be sure to not overbake the pie. Pumpkin pie should still have a small jiggle in the center when you remove it from the oven. Look for set edges with a center that jiggles like Jell-O when you gently nudge the pan. You don't want liquid movement, but you also don't want the entire pie completely firm while it's still in the oven.
- Lifting away from the crust, that separation is pretty common with pumpkin pie. Pumpkin pie is essentially a custard, and the filling can contract as it cools while the crust holds its shape. That creates the little gap where the filling appears to pull or lift away from the crust. A frozen crust can make the separation more noticeable. The crust and custard expand and contract differently during baking and cooling.
- Use a 9-inch frozen pie crust. Keep it frozen or chilled until you're ready to add the filling so it holds its shape well during baking.
- Use room-temperature eggs. They'll incorporate into the filling more evenly.
- Make sure the butter is melted but not piping hot. Let it cool slightly before mixing it into the filling.
- Blend the filling until smooth. A hand mixer, food processor, or blender will help eliminate lumps.
- Don't overmix once the eggs are added. Too much air in the filling can cause the pie to puff while baking and then sink or crack as it cools.
- Don't overbake the pie. The edges should be set, but the center can have a slight jiggle when you remove it from the oven. It will continue setting as it cools.
- Let it cool completely before slicing. I know everybody wants to get into the pie, but cutting it too soon is how you end up with filling all over the plate instead of a clean slice.
- For the cleanest slices, chill the pie first. Once completely cooled, refrigerate it for a few hours or overnight, then slice with a clean, sharp knife.
Nutrition
Nutrition Data
Macros are provided as a courtesy and should not be construed as a guarantee. This information is calculated using MyFitnessPal.com. To obtain the most accurate nutritional information in a given recipe, you should calculate the nutritional information with the actual ingredients used in your recipe, using your preferred nutrition calculator. You are solely responsible for ensuring that any nutritional information provided is accurate, complete, and useful.
FREQUENTLY ASKED QUESTIONS AND RECIPE PRO TIPS
It depends on the brand, so check the package directions. Most frozen crusts can be filled while still frozen or slightly thawed. I like to keep the crust cool until the filling is ready because a cool crust (thawed, but not frozen or warm) holds its shape better while baking.
No, you typically don’t need to blind bake the crust for pumpkin pie. The crust and pumpkin filling can bake together. This keeps the recipe simple, which is exactly why we’re using a frozen crust in the first place.
Yes, and make sure you pay attention to the size of your crust. A deep-dish crust can hold more filling than a standard frozen pie shell so you may have to make your own adjustments.
Bake the pie on a lower oven rack so the bottom gets plenty of heat.
If the edges are browning faster than the filling is baking, loosely cover them with strips of foil or use a pie crust shield. Keep an eye on them because frozen crusts can brown quickly.
Not interchangeably. Pumpkin puree is simply pumpkin, while canned pumpkin pie filling is already sweetened and seasoned. If the recipe calls for pumpkin puree, stick with it so you can control the sugar and spices.
Be sure to not overbake the pie. Pumpkin pie should still have a small jiggle in the center when you remove it from the oven. Look for set edges with a center that jiggles like Jell-O when you gently nudge the pan. You don't want liquid movement, but you also don't want the entire pie completely firm while it's still in the oven.
Lifting away from the crust, that separation is pretty common with pumpkin pie. Pumpkin pie is essentially a custard, and the filling can contract as it cools while the crust holds its shape. That creates the little gap where the filling appears to pull or lift away from the crust. A frozen crust can make the separation more noticeable. The crust and custard expand and contract differently during baking and cooling.
The outer edges should look set, but the center should still have a slight jiggle when you gently move the pie. We want a little movement, not pumpkin soup sloshing around in there. The filling will continue to set as it cools.
Cracks usually mean the pie was baked too long or at too high a temperature. Pull it from the oven while the center still has that slight jiggle. It will finish setting as it cools.
It may be underbaked or it may not have had enough time to cool and set. Pumpkin pie needs patience after it comes out of the oven. Let it cool completely before slicing so the custard has time to firm up.
Absolutely, and Thanksgiving is not the day I’m trying to do everything from scratch at the last minute. Make the pie a day or two ahead, let it cool completely, and store it covered in the refrigerator.
Yes. Because the filling contains eggs and dairy, store leftover pumpkin pie covered in the refrigerator.
For the best quality, plan to eat it within about 3–4 days. Keep it tightly covered so it doesn’t pick up refrigerator odors or dry out.
Yes. Let the pie cool completely. Let the pie cool completely. Once cooled, wrap the whole pie tightly in 2 layers of plastic wrap, making sure the wrap is snug against the pie and around the edges of the pan. Follow with a layer of heavy-duty aluminum foil for extra protection against freezer burn and odors. If you have a large freezer-safe bag that fits the pie, you can place the wrapped pie inside that as an additional barrier.
Thaw it overnight in the refrigerator while still wrapped. Once thawed, remove the wrapping and serve.
More Dessert Recipes
Southern Sweet Potato Pie with Frozen Crust
Sweet Potato Pie with Graham Cracker Crust
Biscoff Banana Pudding
Sugar Free Apple Crisp
Leave a Reply